How to Install a Flagstone Patio: The “Dry-Set” Method
Installing a flagstone patio is a rewarding project that adds timeless value to your home. In this guide, I’ll walk you through a “Dry-Set” installation. I use quotation marks because, while this is a dry-laying method, we use a touch of Portland cement and water to ensure the stones stay exactly where you put them.
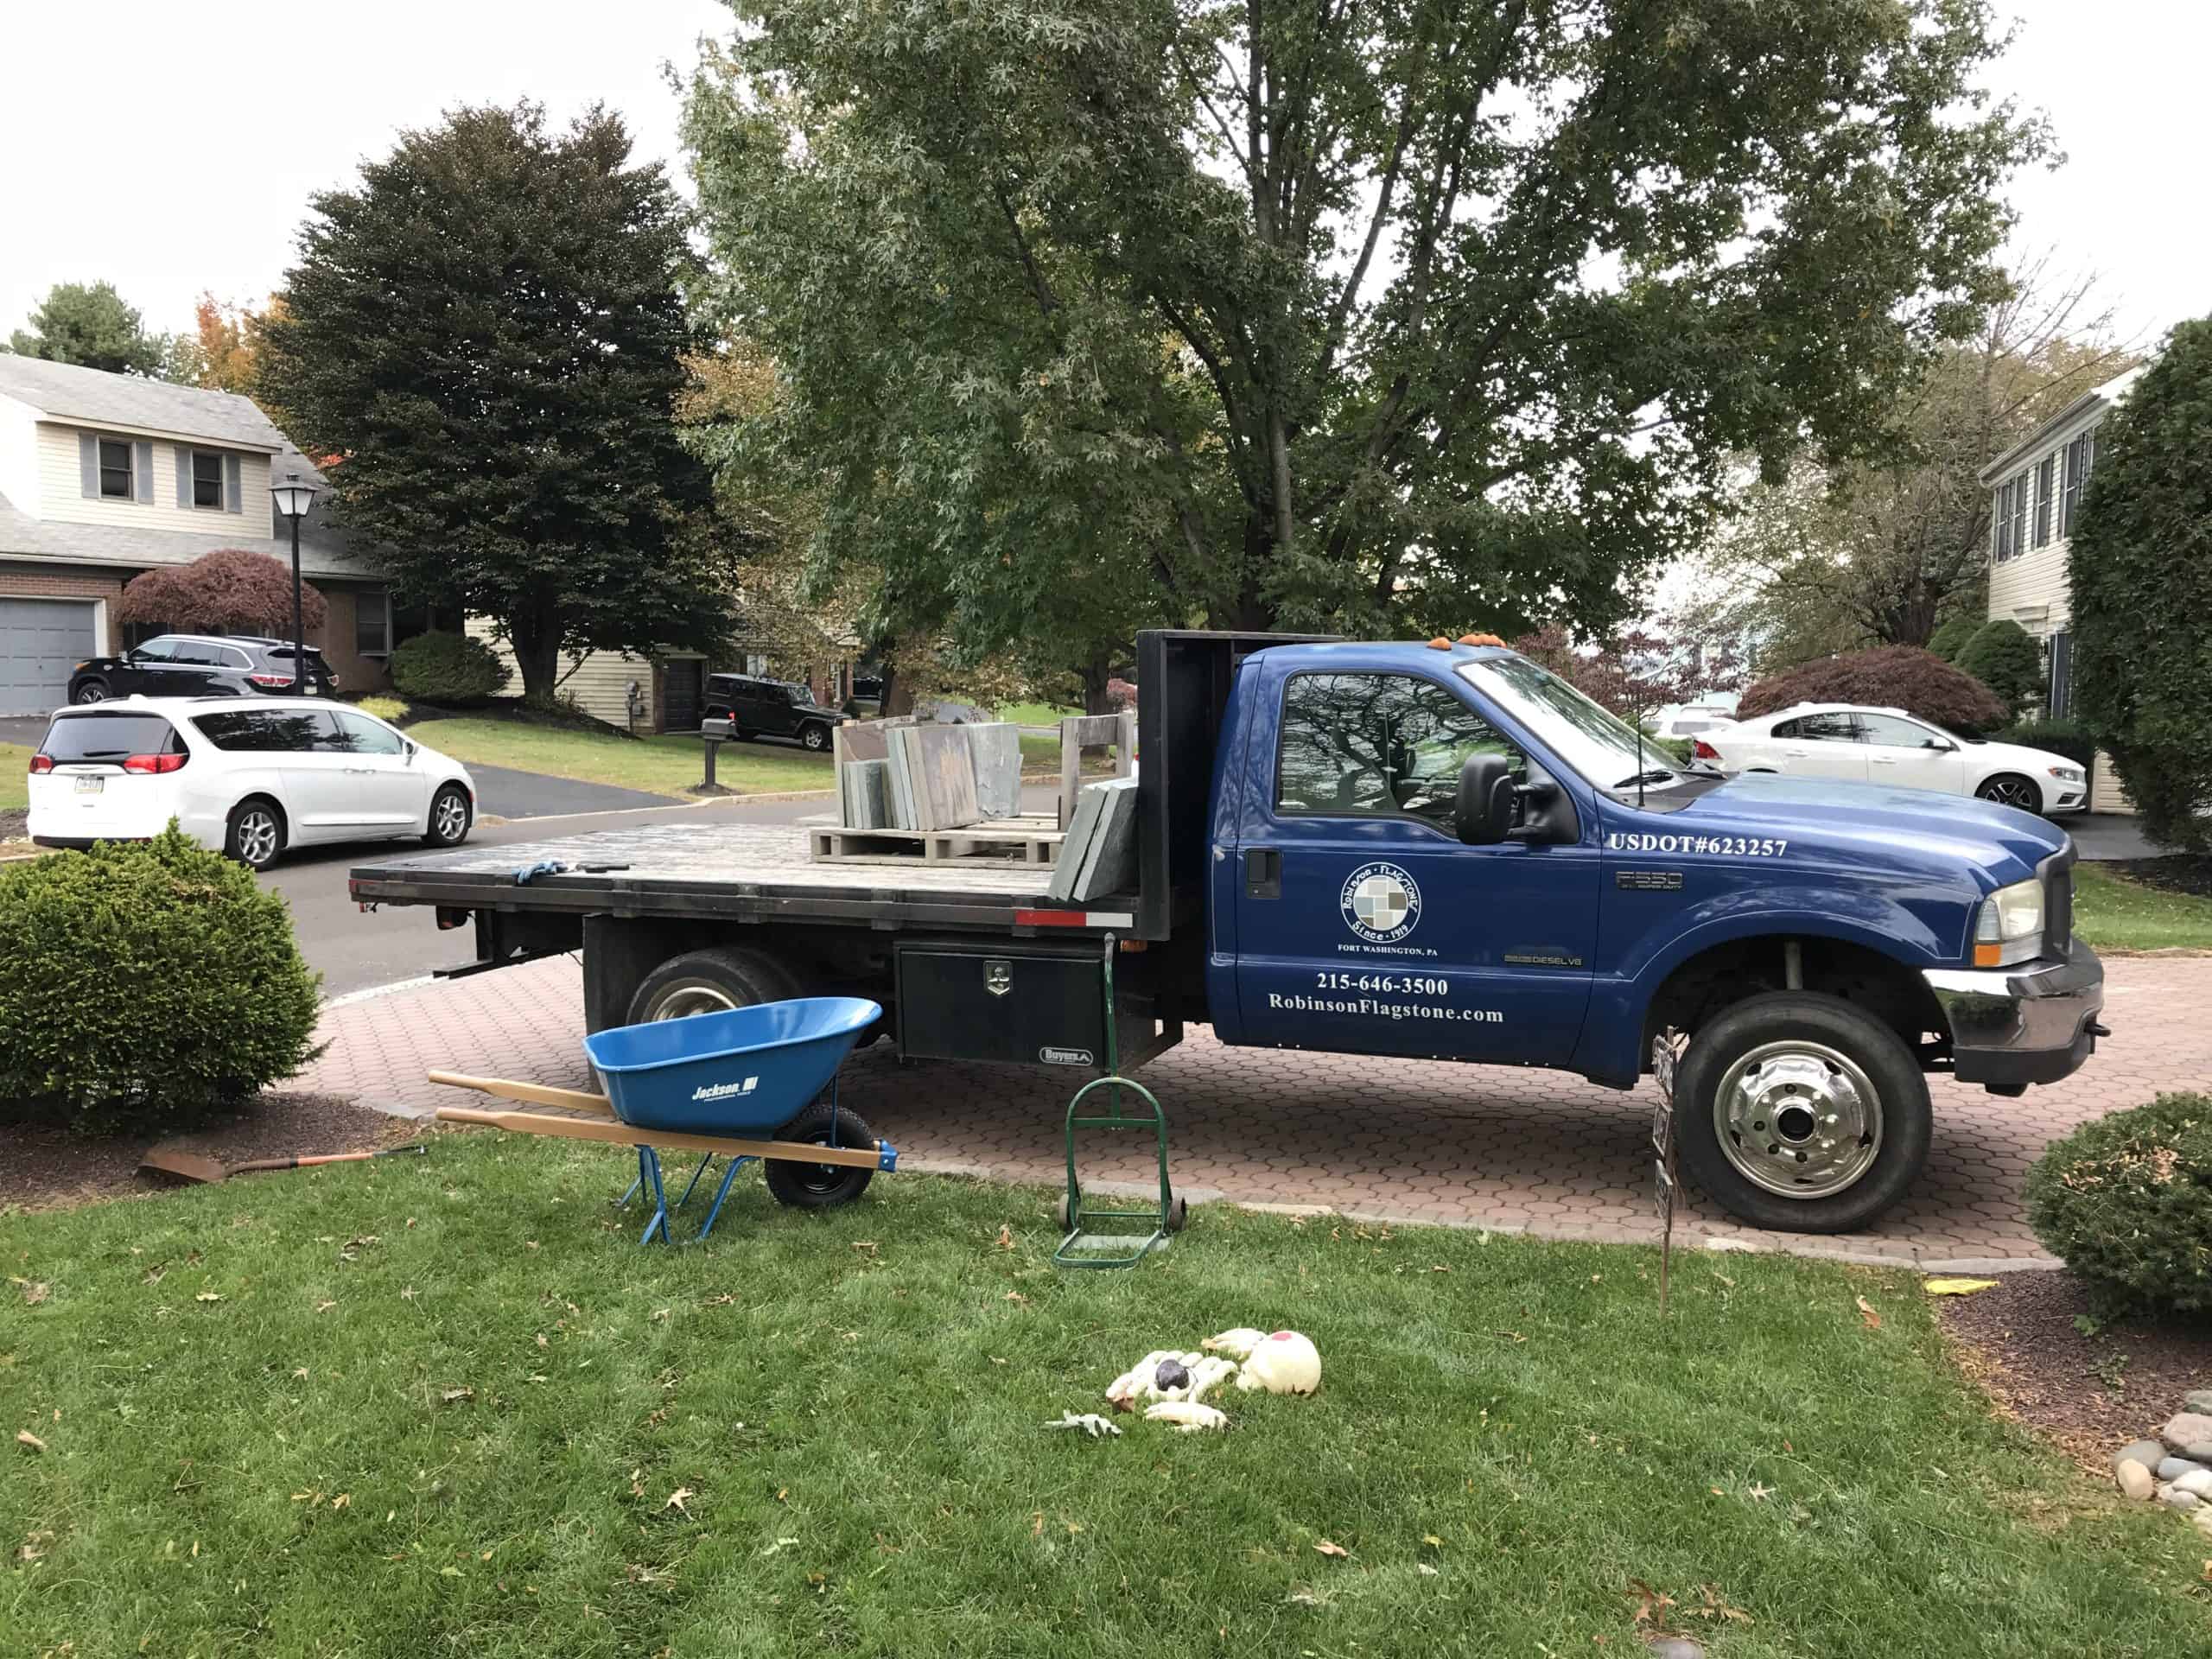
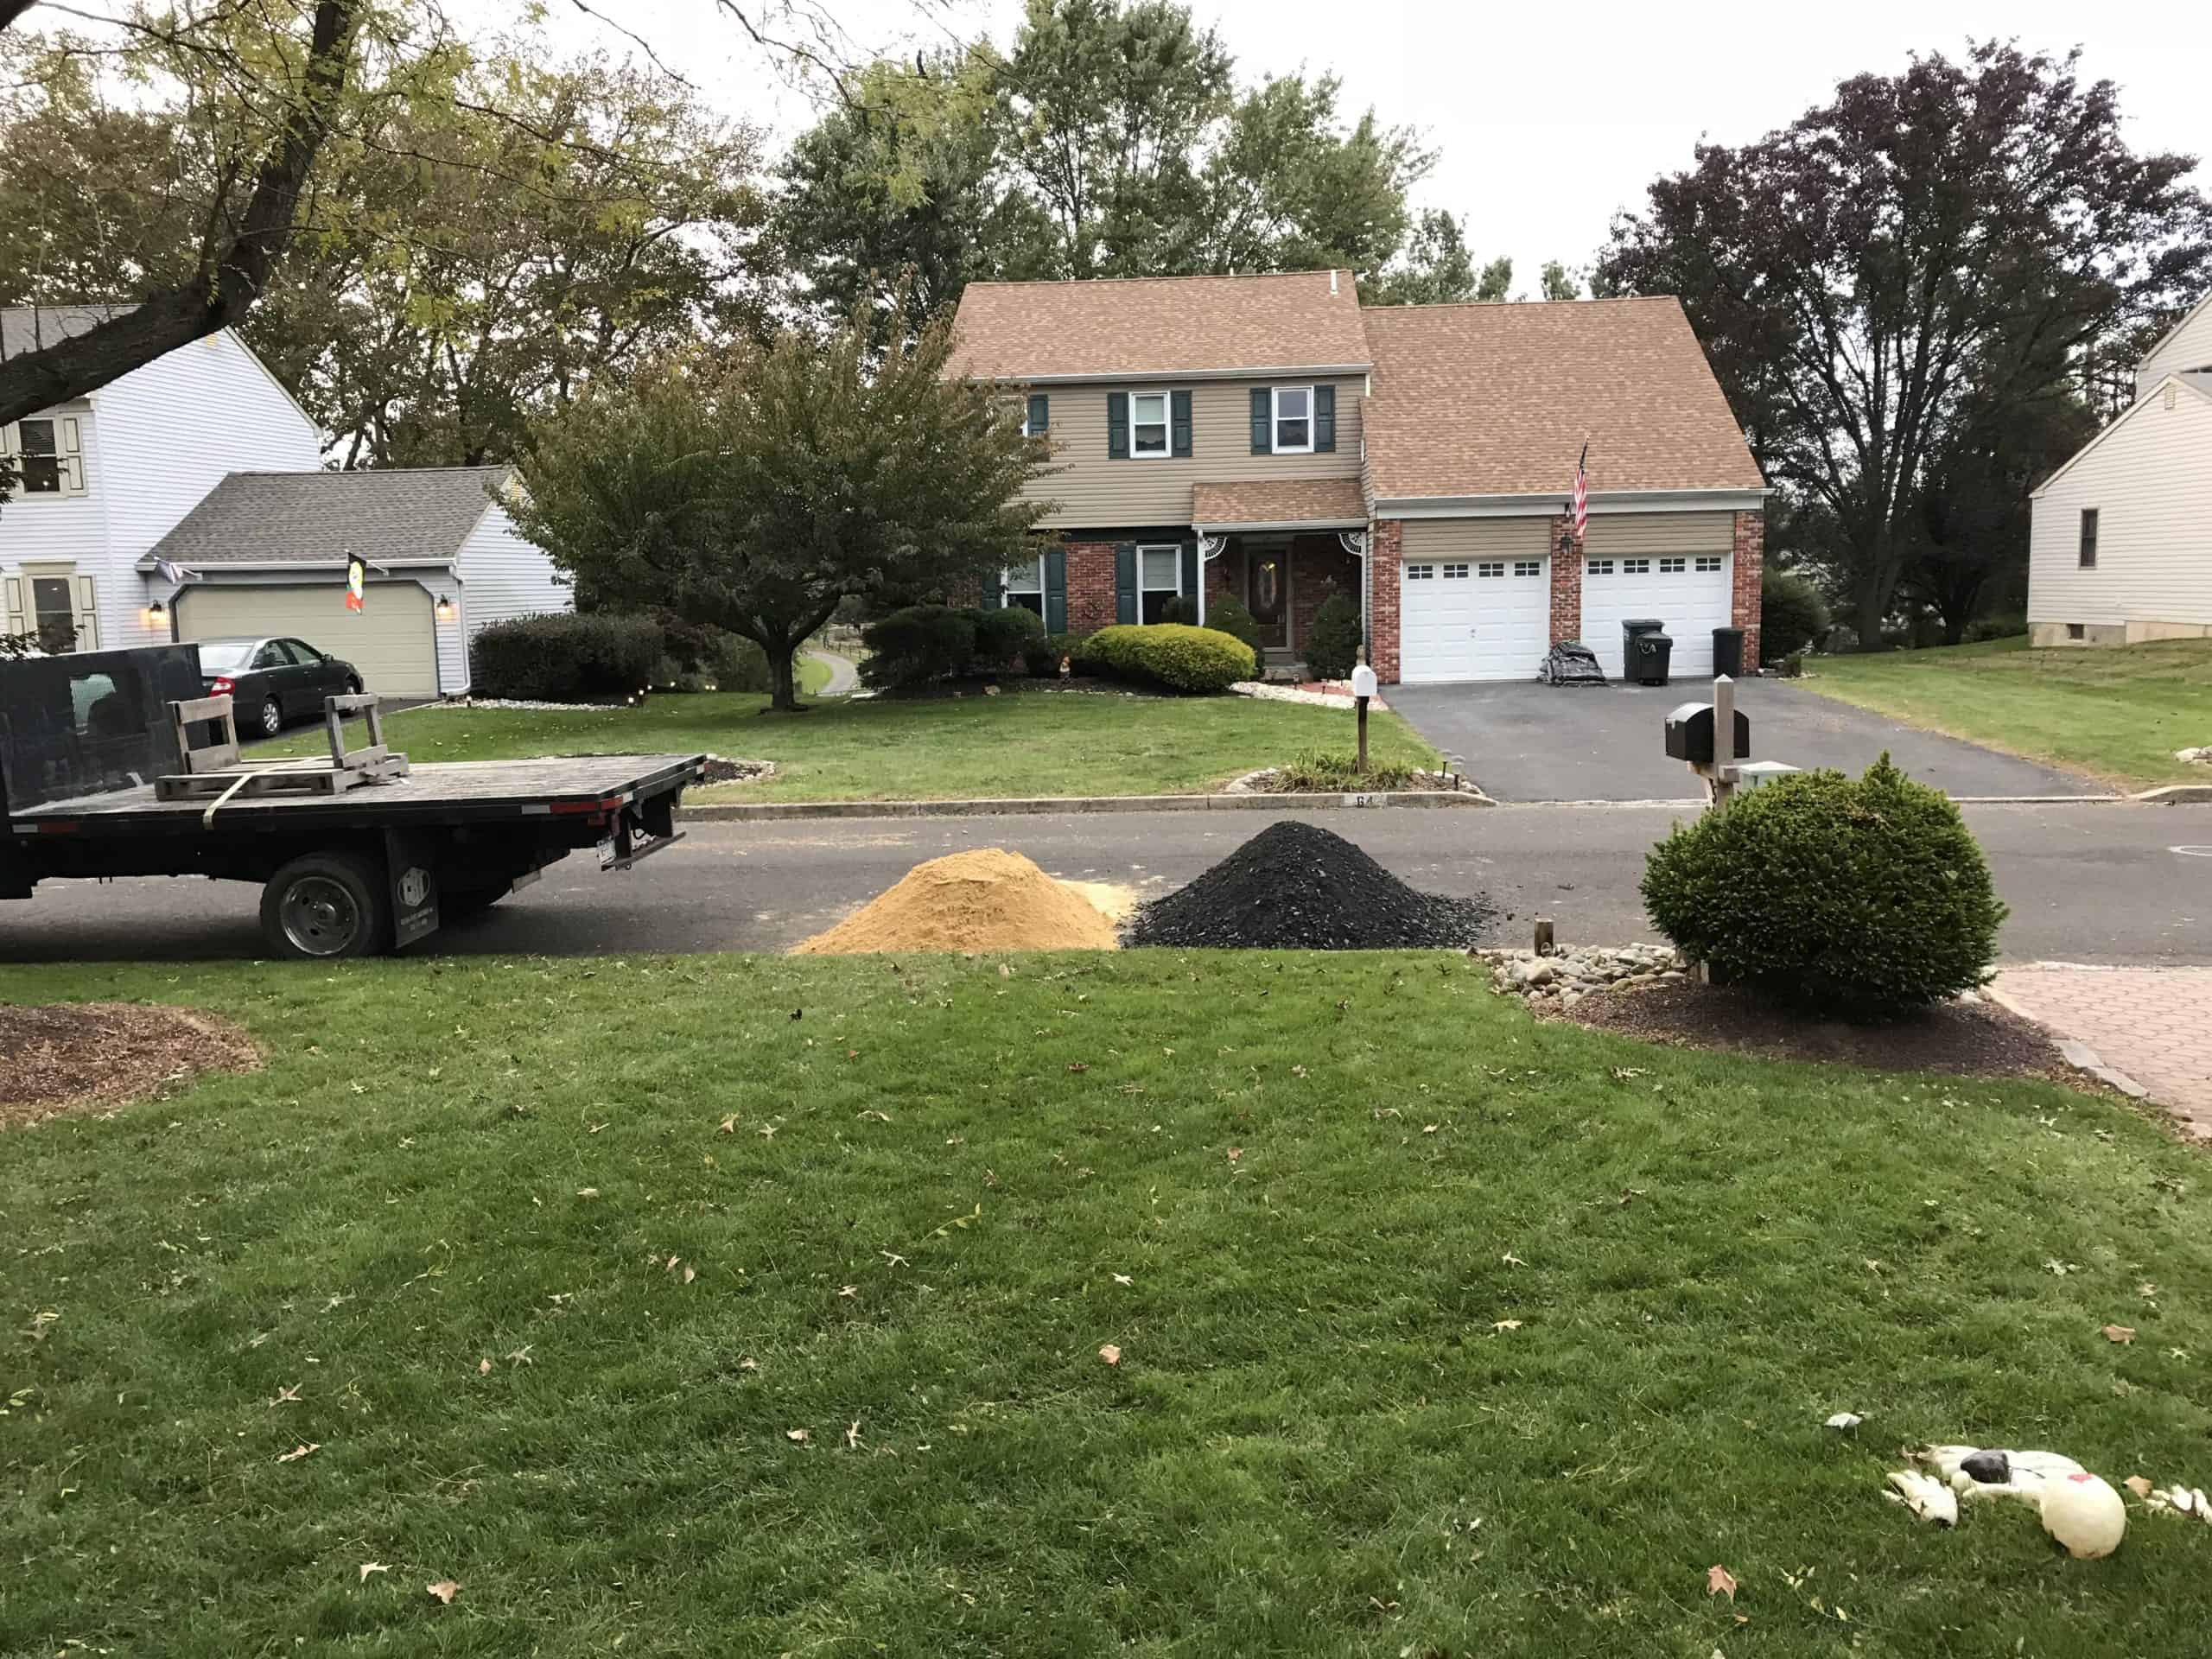
Project Overview & Materials
| Average 1 1/2″ Thick Flagstone | Level |
| Concrete Sand | Wheelbarrow |
| 2A Modified Crushed Stone | 5 Gallon Buckets (multiple) |
| Shovels | Portland Cement |
| Garden Hoe | Sponges |
| Brick & Block Trowel | Grinder with Diamond Wheel |
| Rubber Mallet | Polymeric Sand |
| Tamper | Broom |
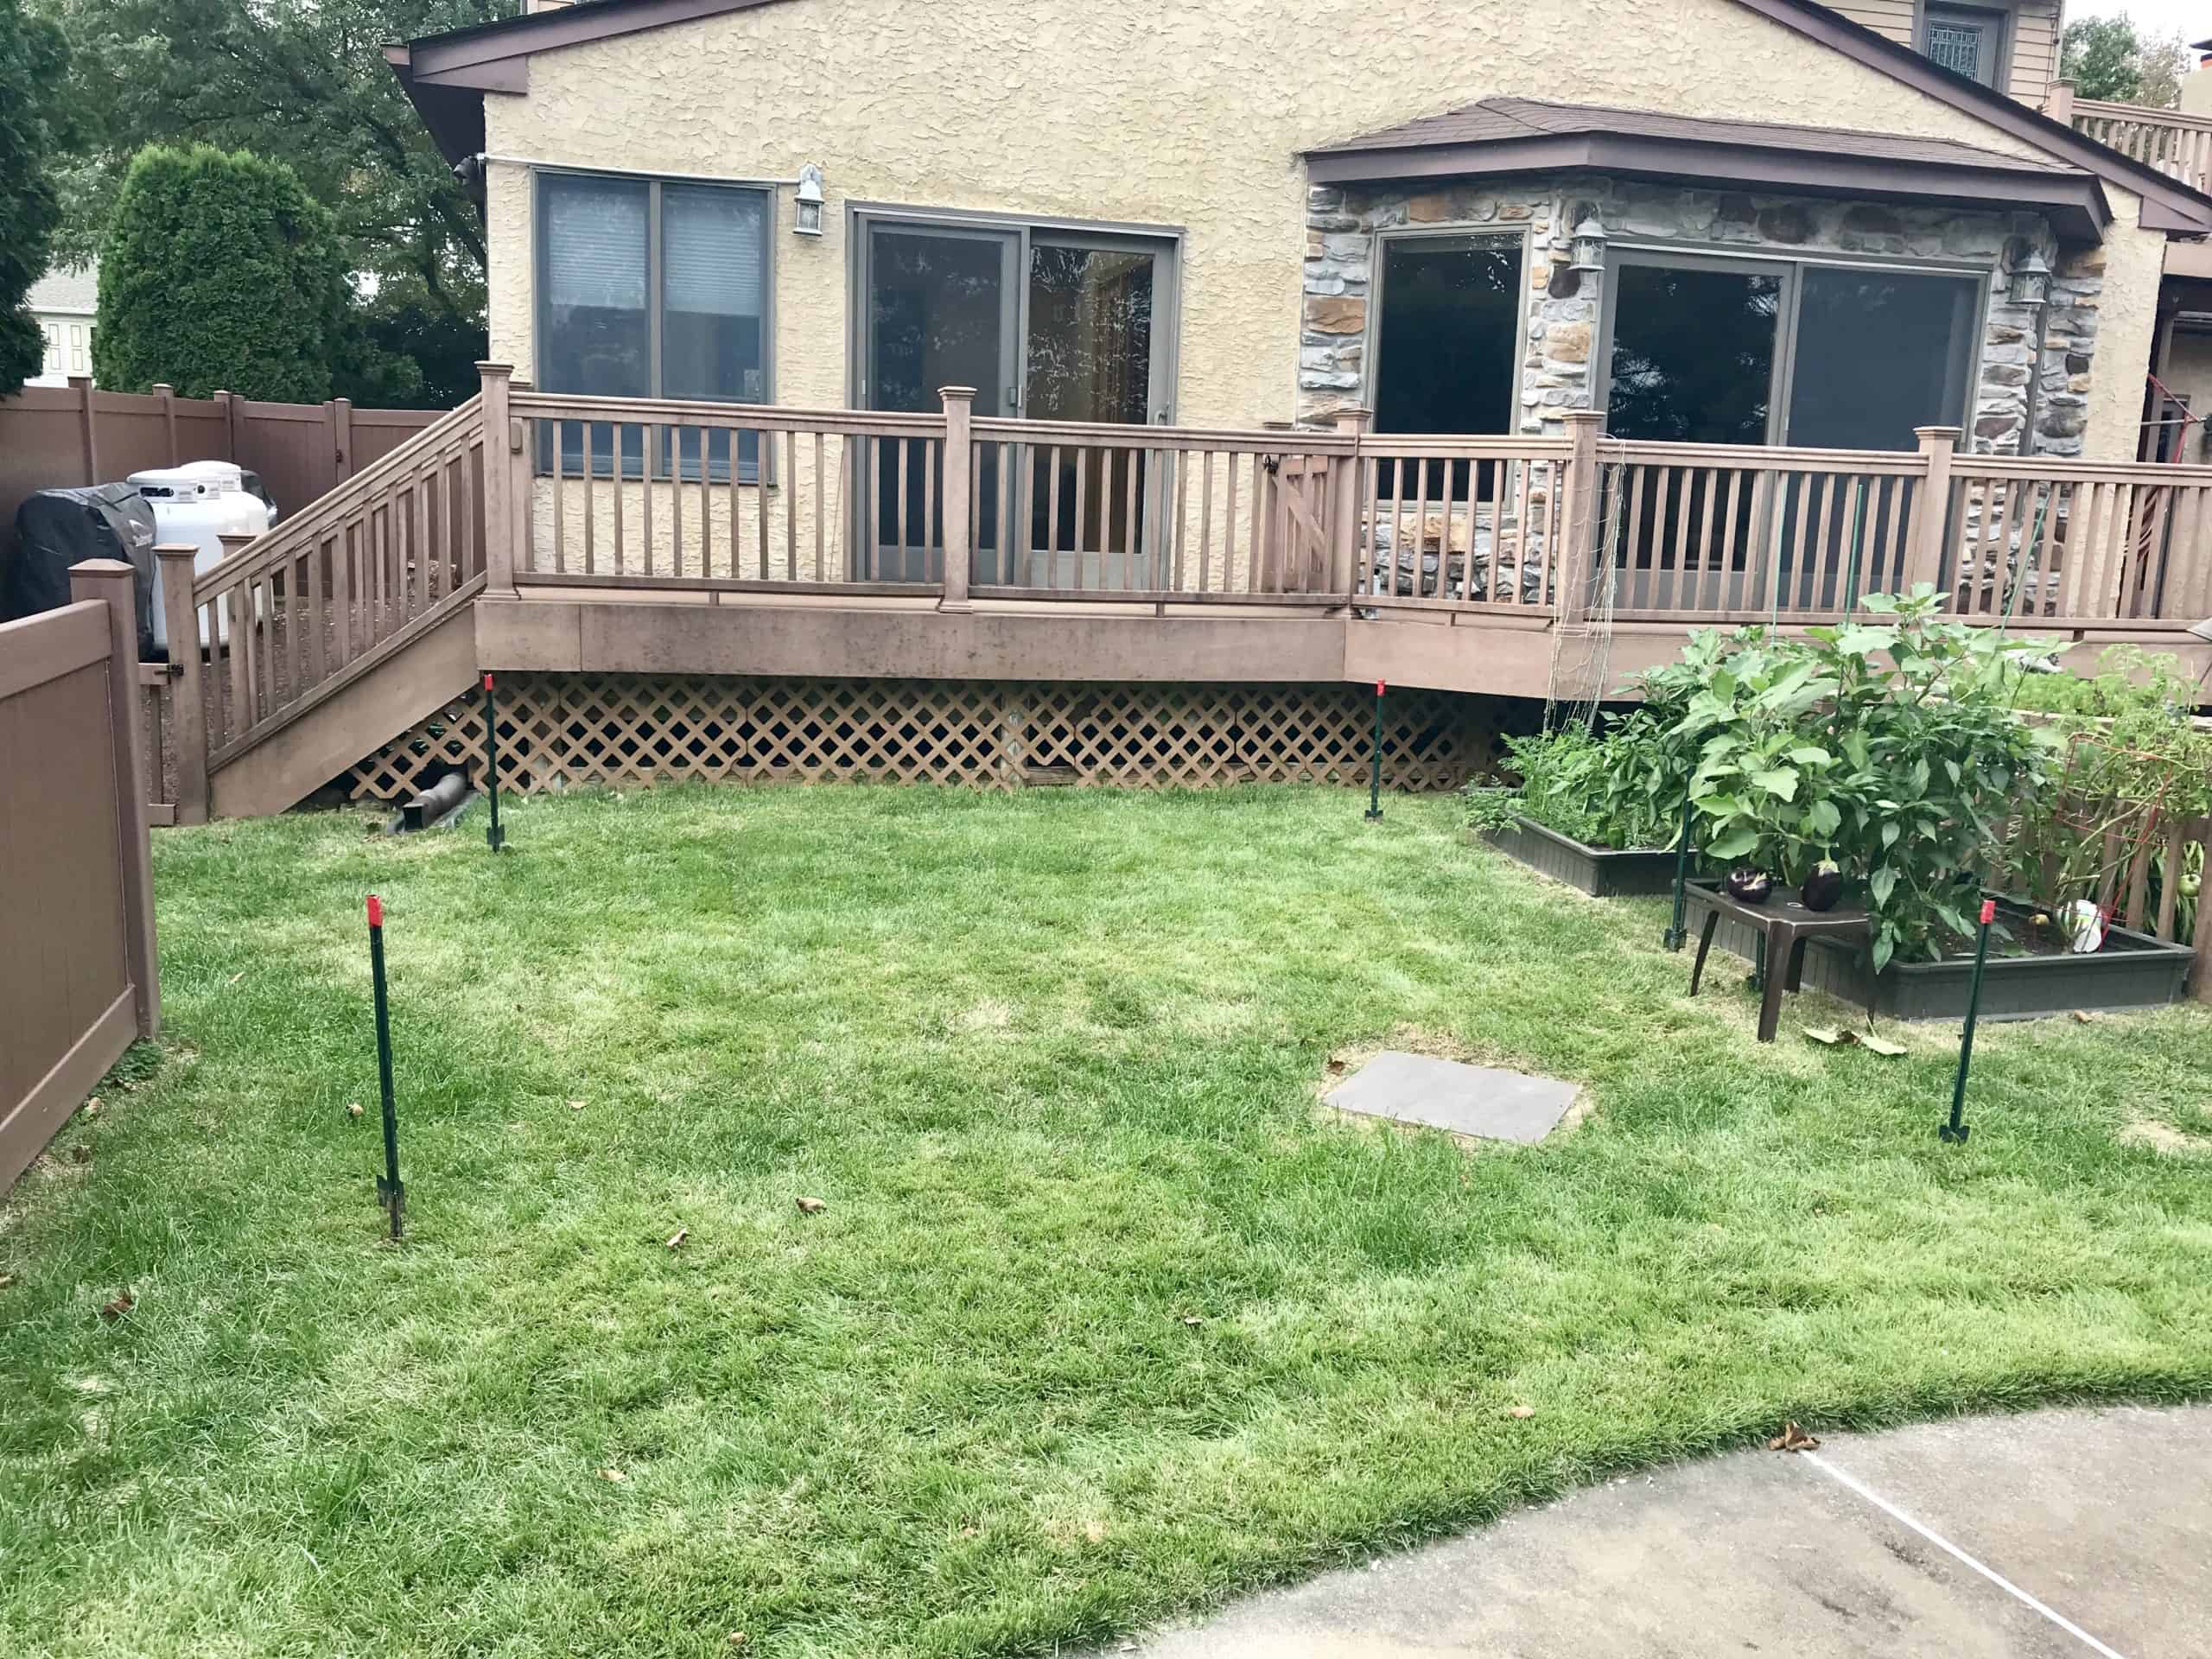
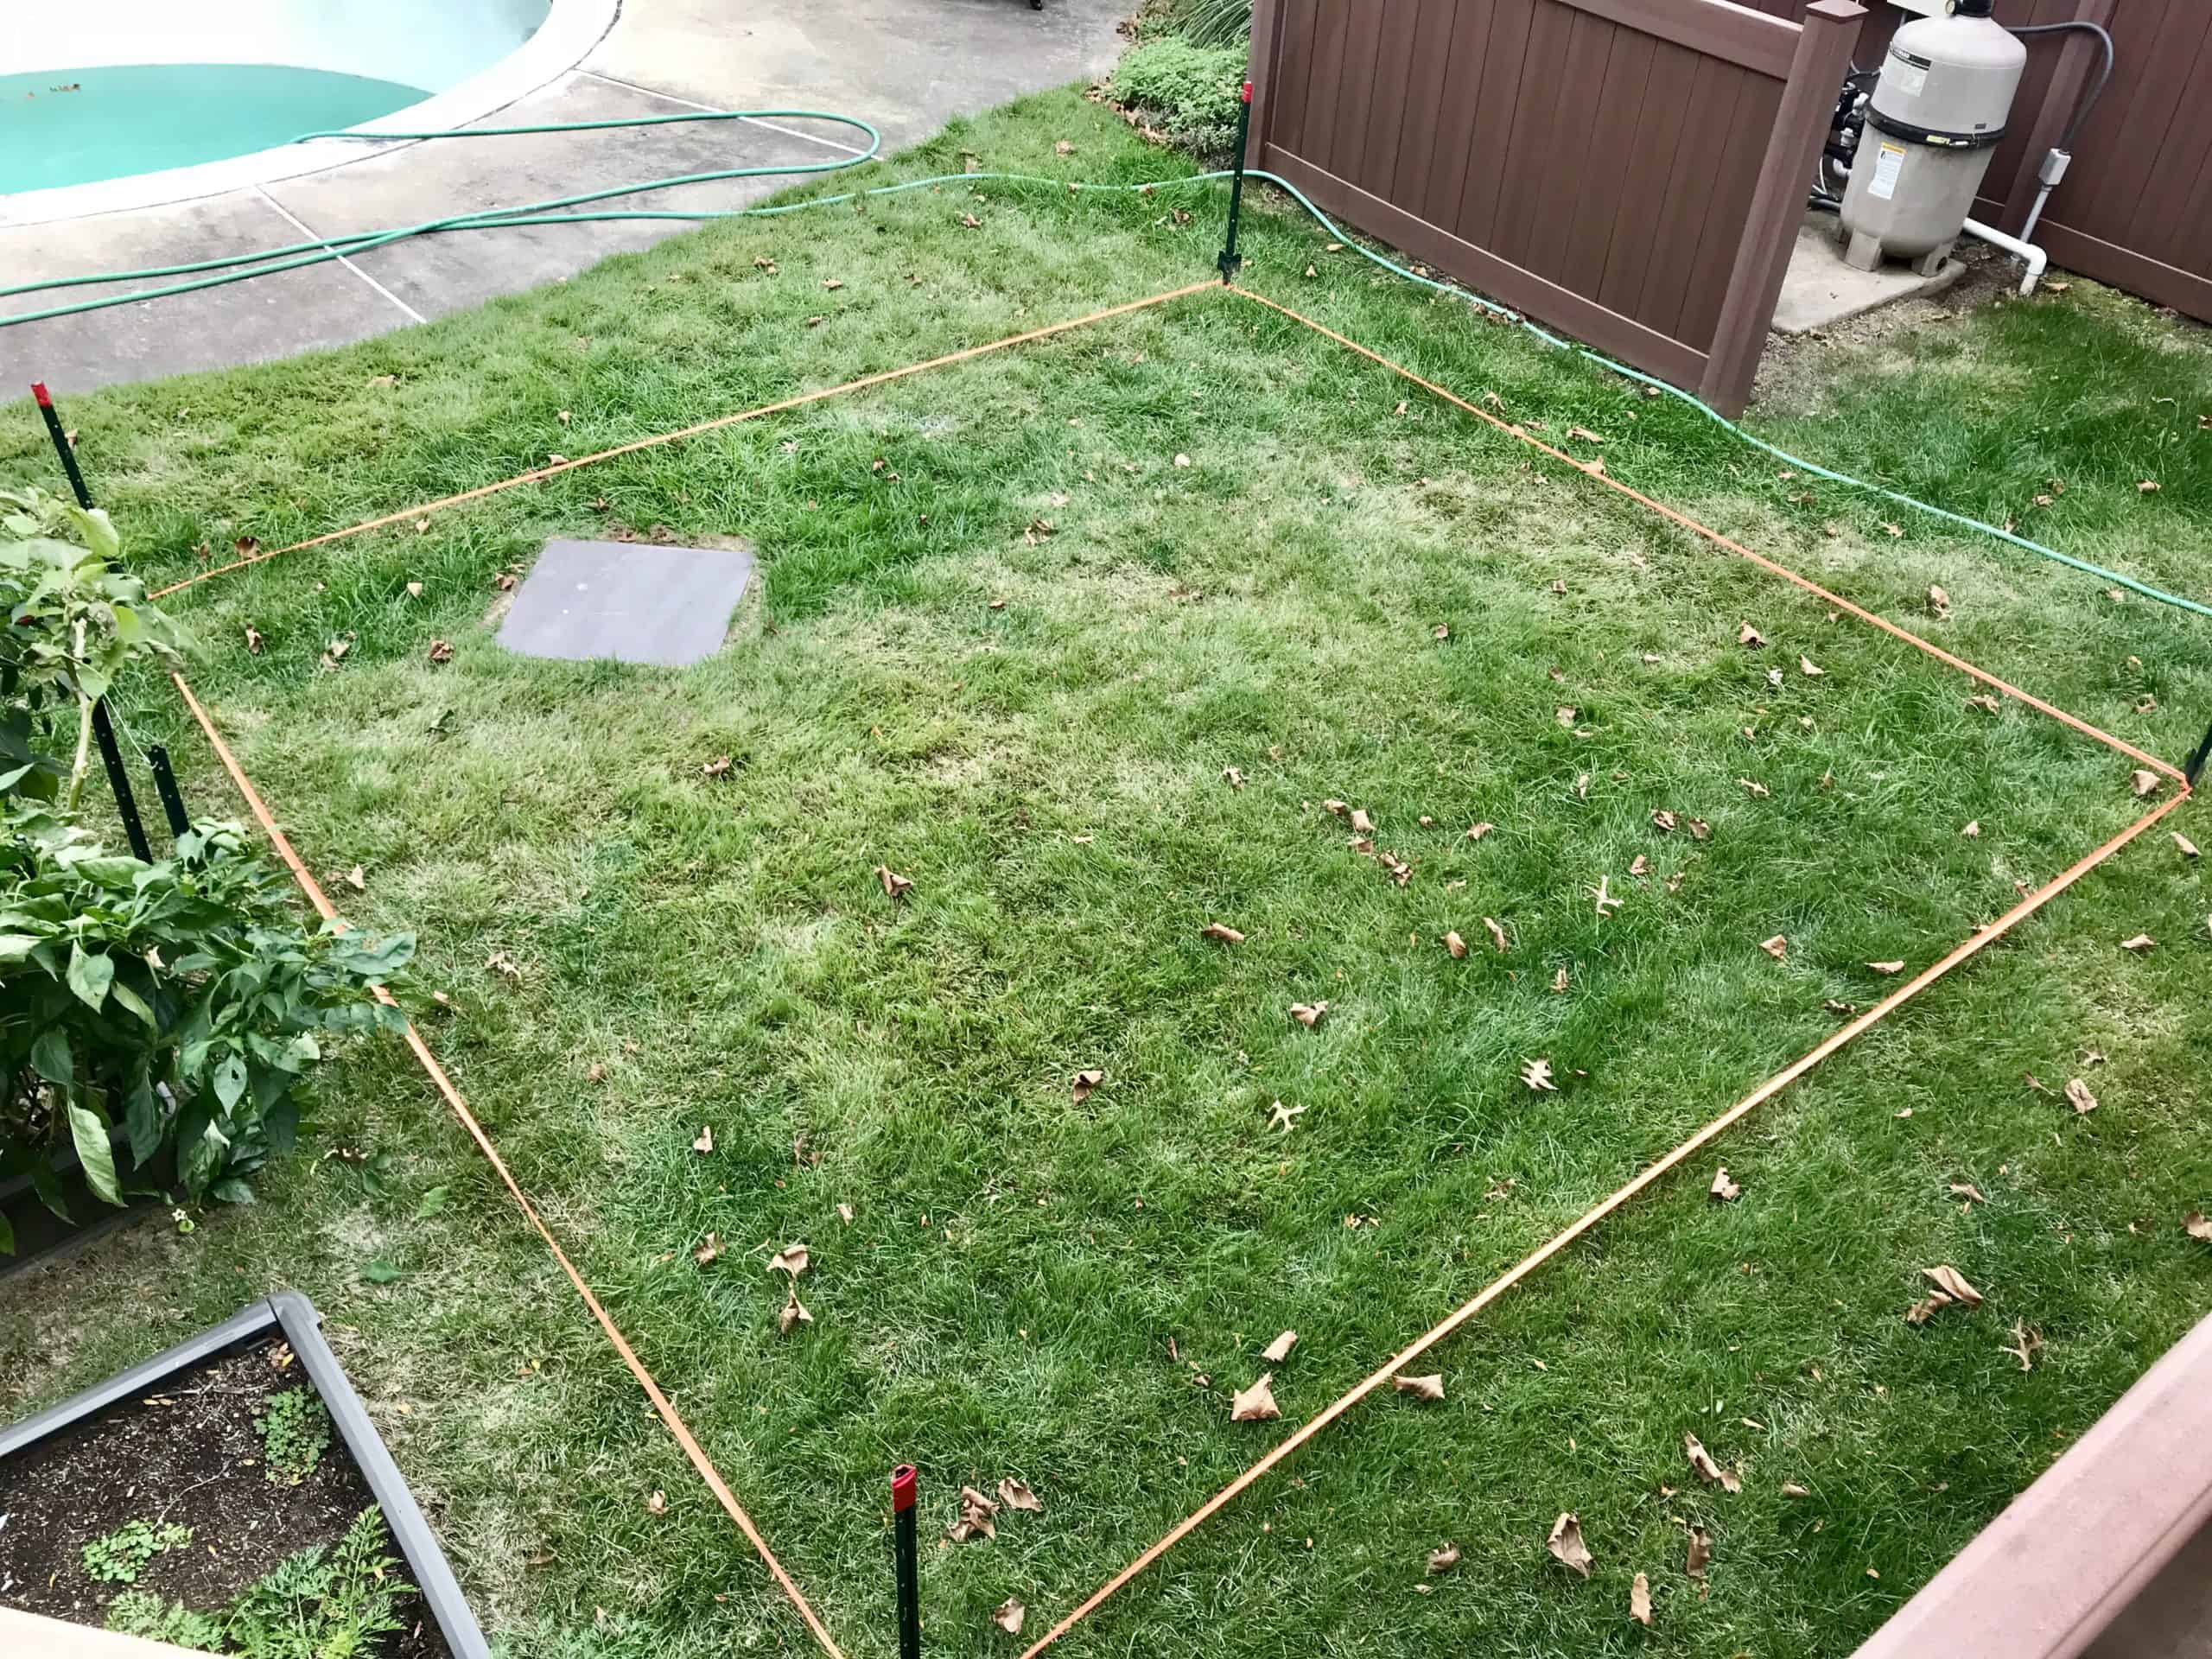
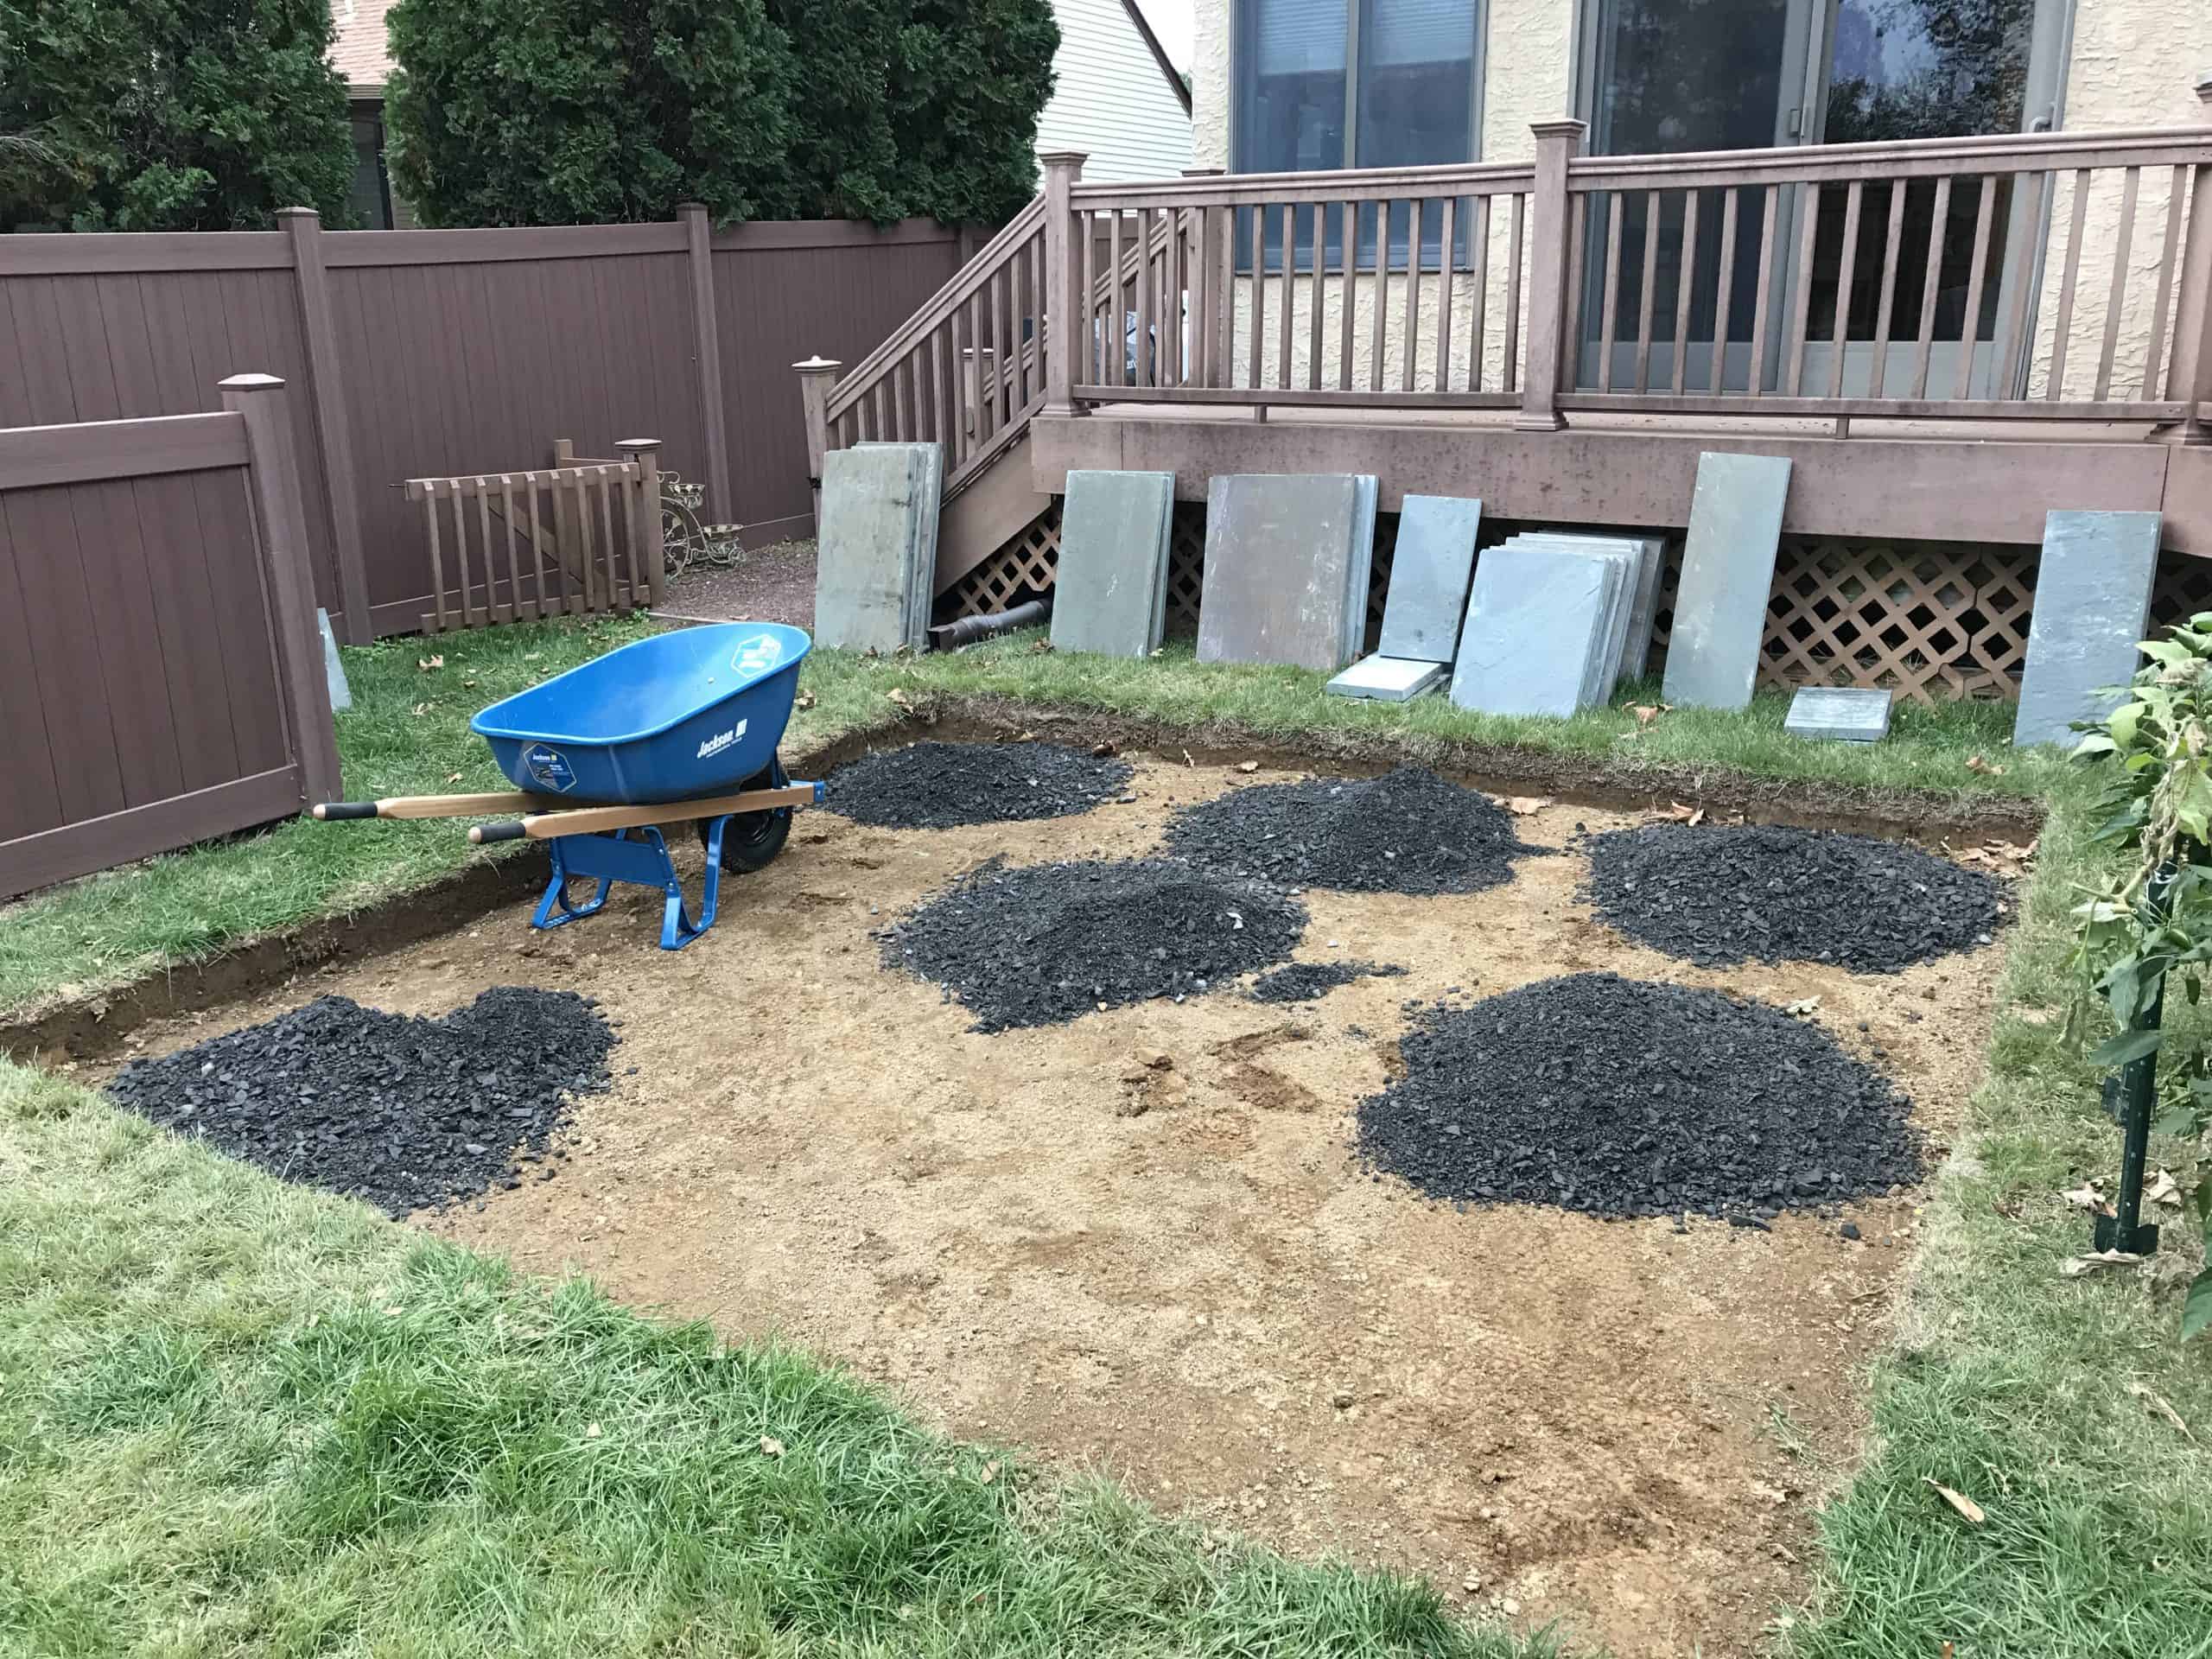
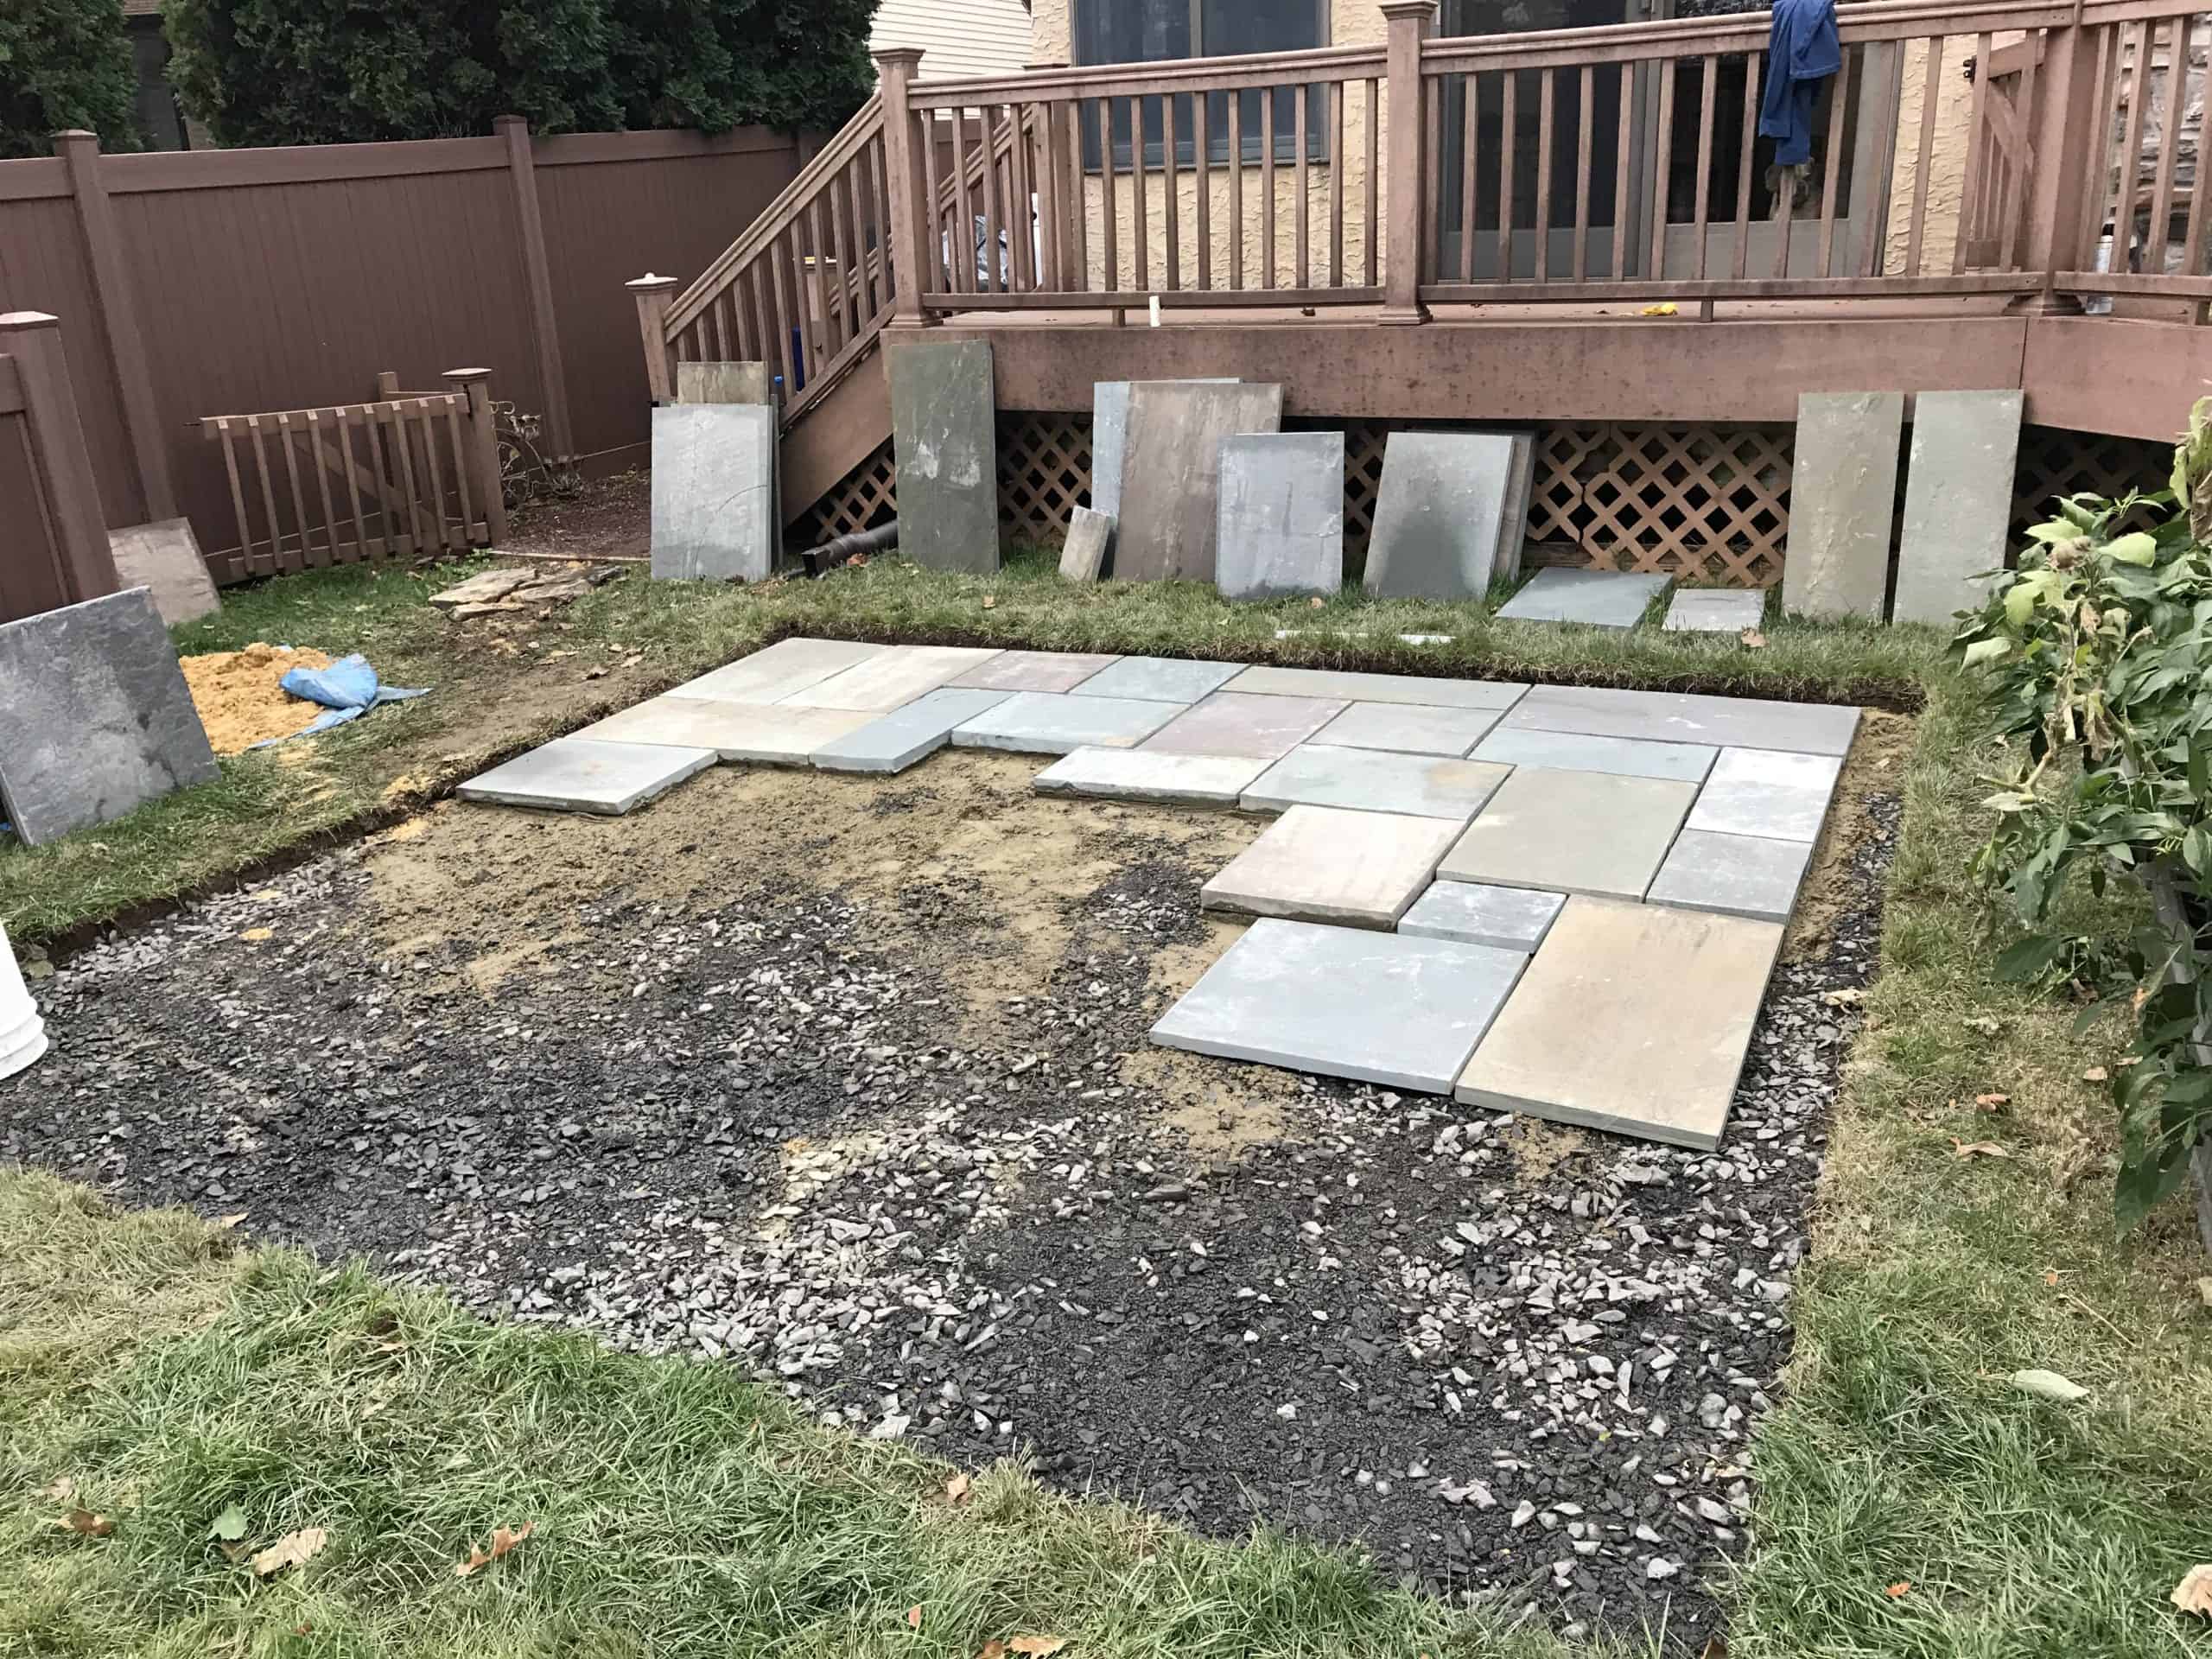
Step 1: Planning and Excavation
First, identify your patio area. For this project, I staked off a 12’-6” x 12’-6” square. While the finished patio is a nominal 12’ x 12’, that extra 6 inches of excavation gives you much-needed “elbow room” for setting the perimeter stones.
The Dig: To accommodate the base, setting bed, and stone, I excavated to a 7” depth. This allows for:
- 4” Layer: 2A Modified Crushed Stone (tamped in 2” increments).
- 1 ½” Layer: Setting bed (sand/cement mix).
- 1 ½” Layer: Average flagstone thickness.
Pro Tip: When ordering, give your local supplier your dimensions (L x W x D), and they can calculate the exact tons of stone and bags of cement you’ll need.
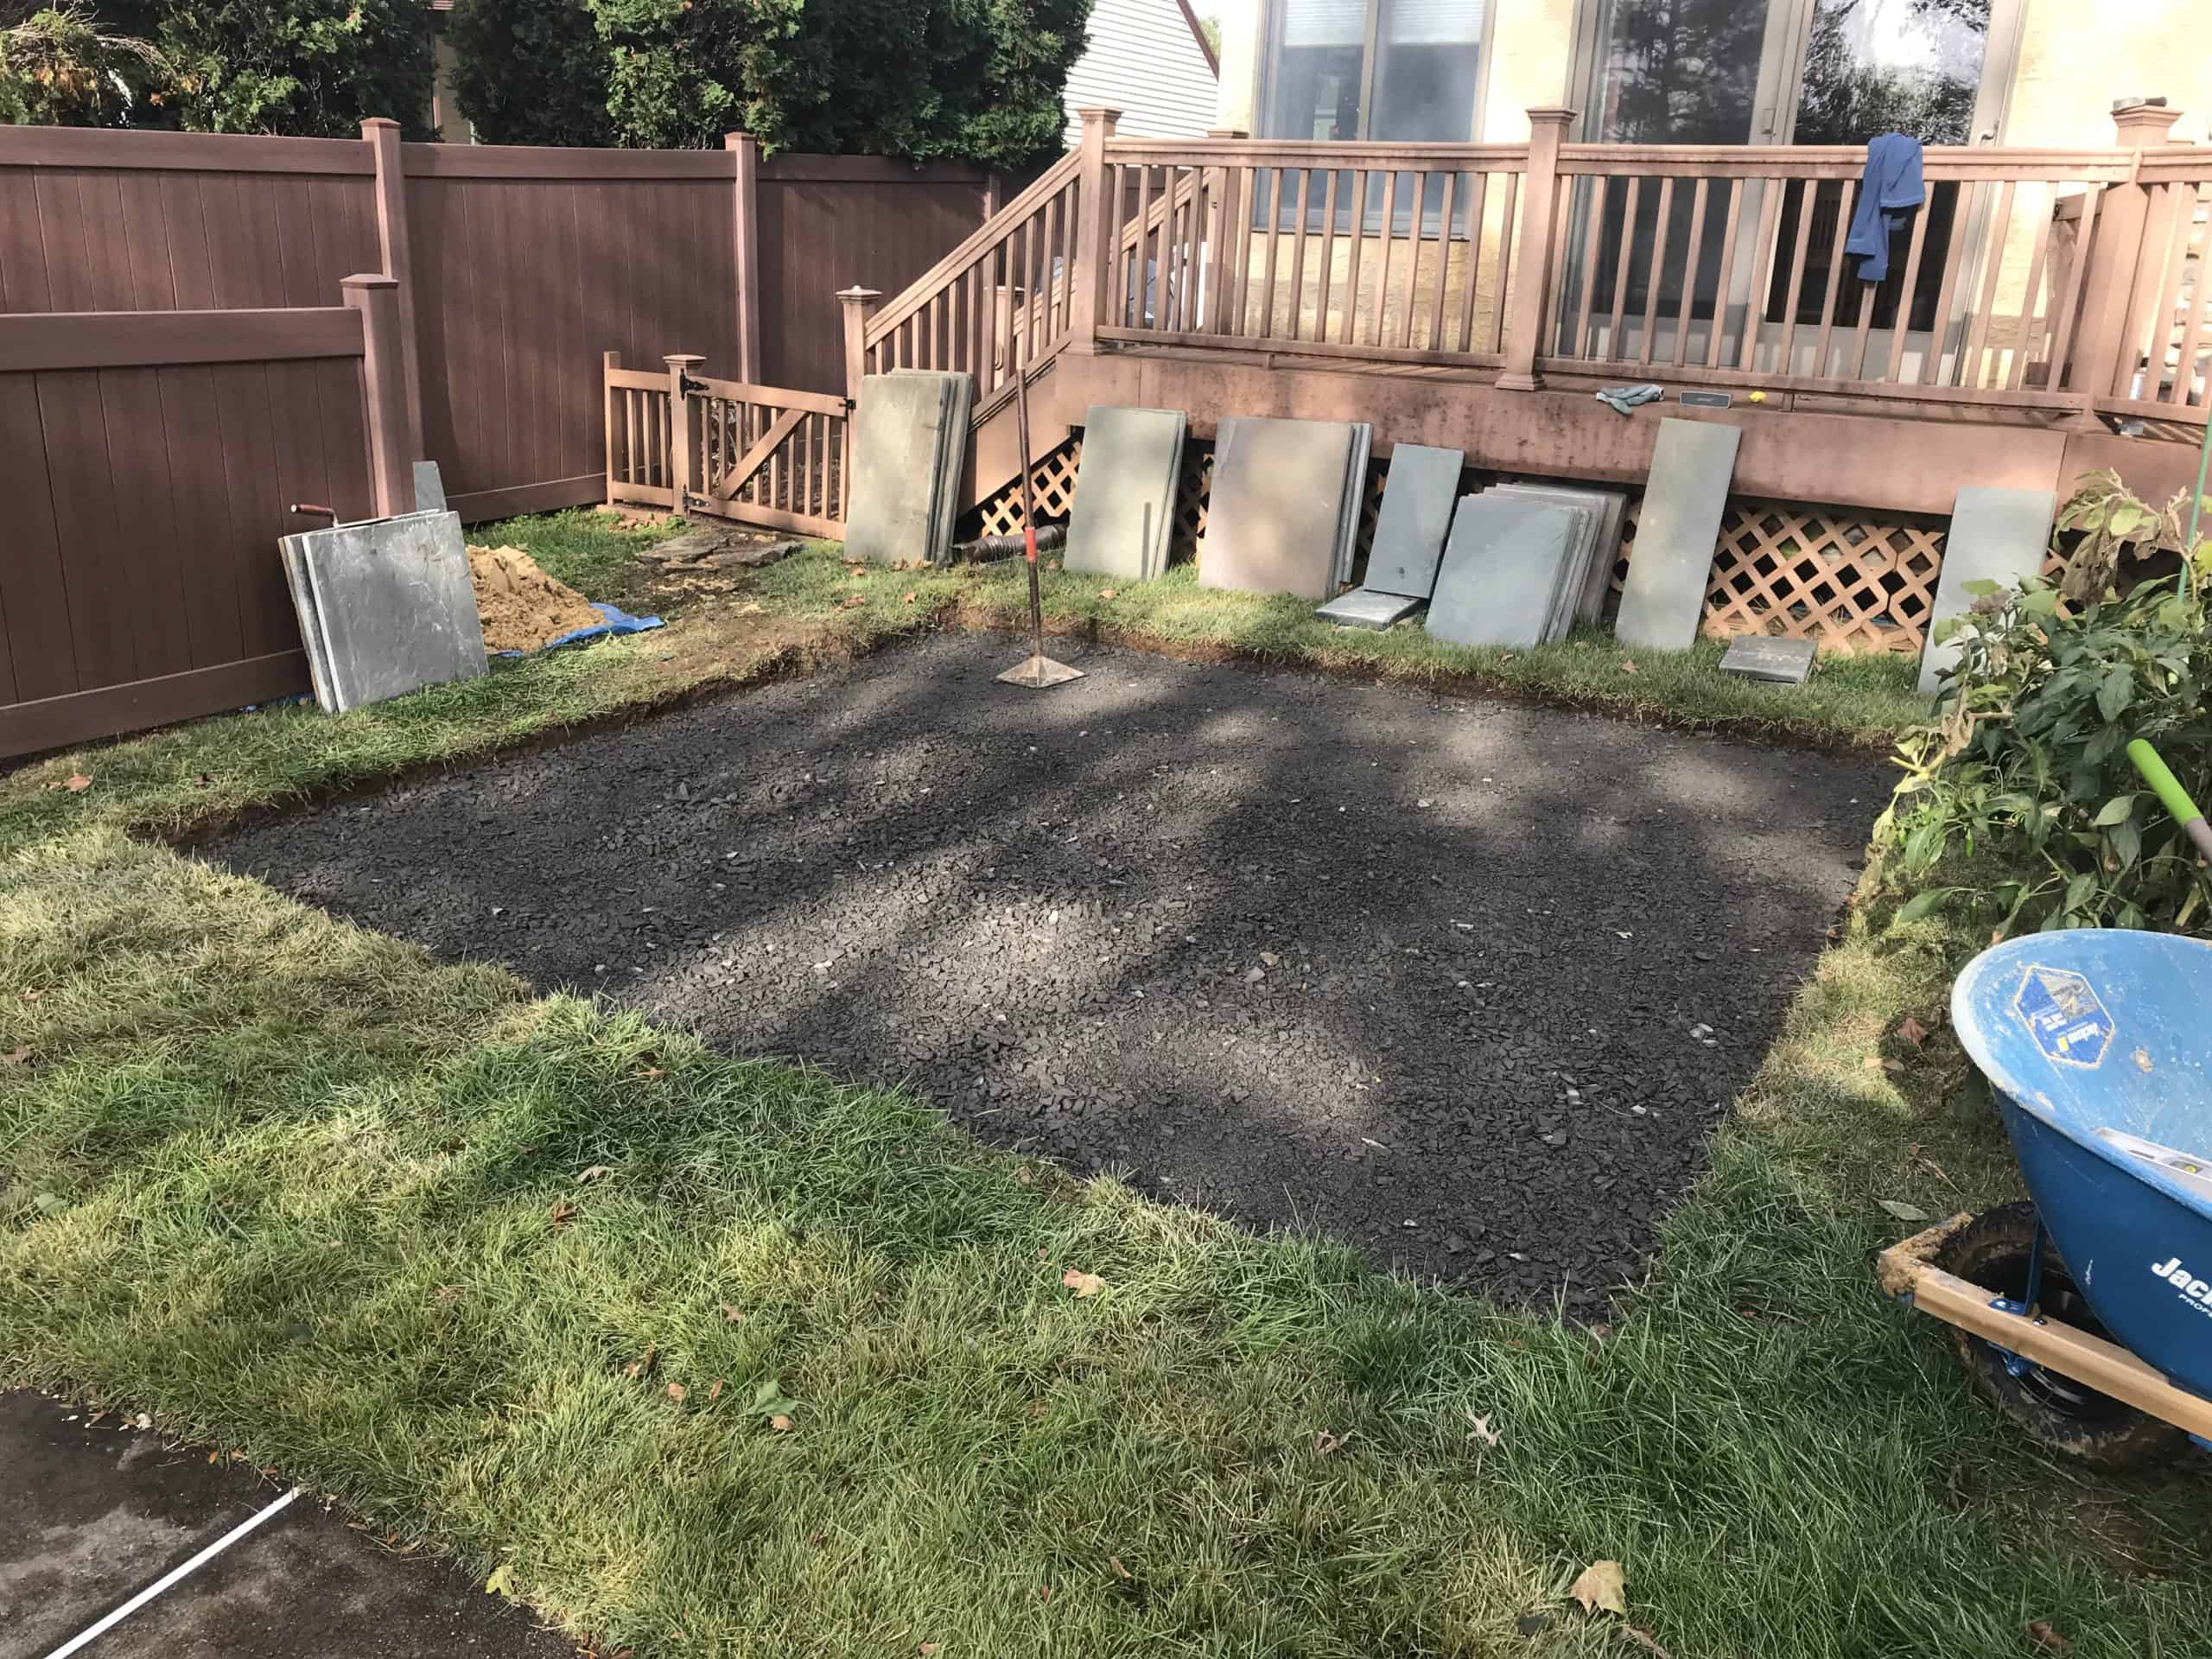
Step 2: Preparing the Sub-Base
The longevity of your patio depends on the base. Lay down your 2A modified crushed stone in two 2” layers. It is vital to firmly tamp and compact each layer tight before moving to the next. A solid base prevents the stones from shifting or sinking over time.
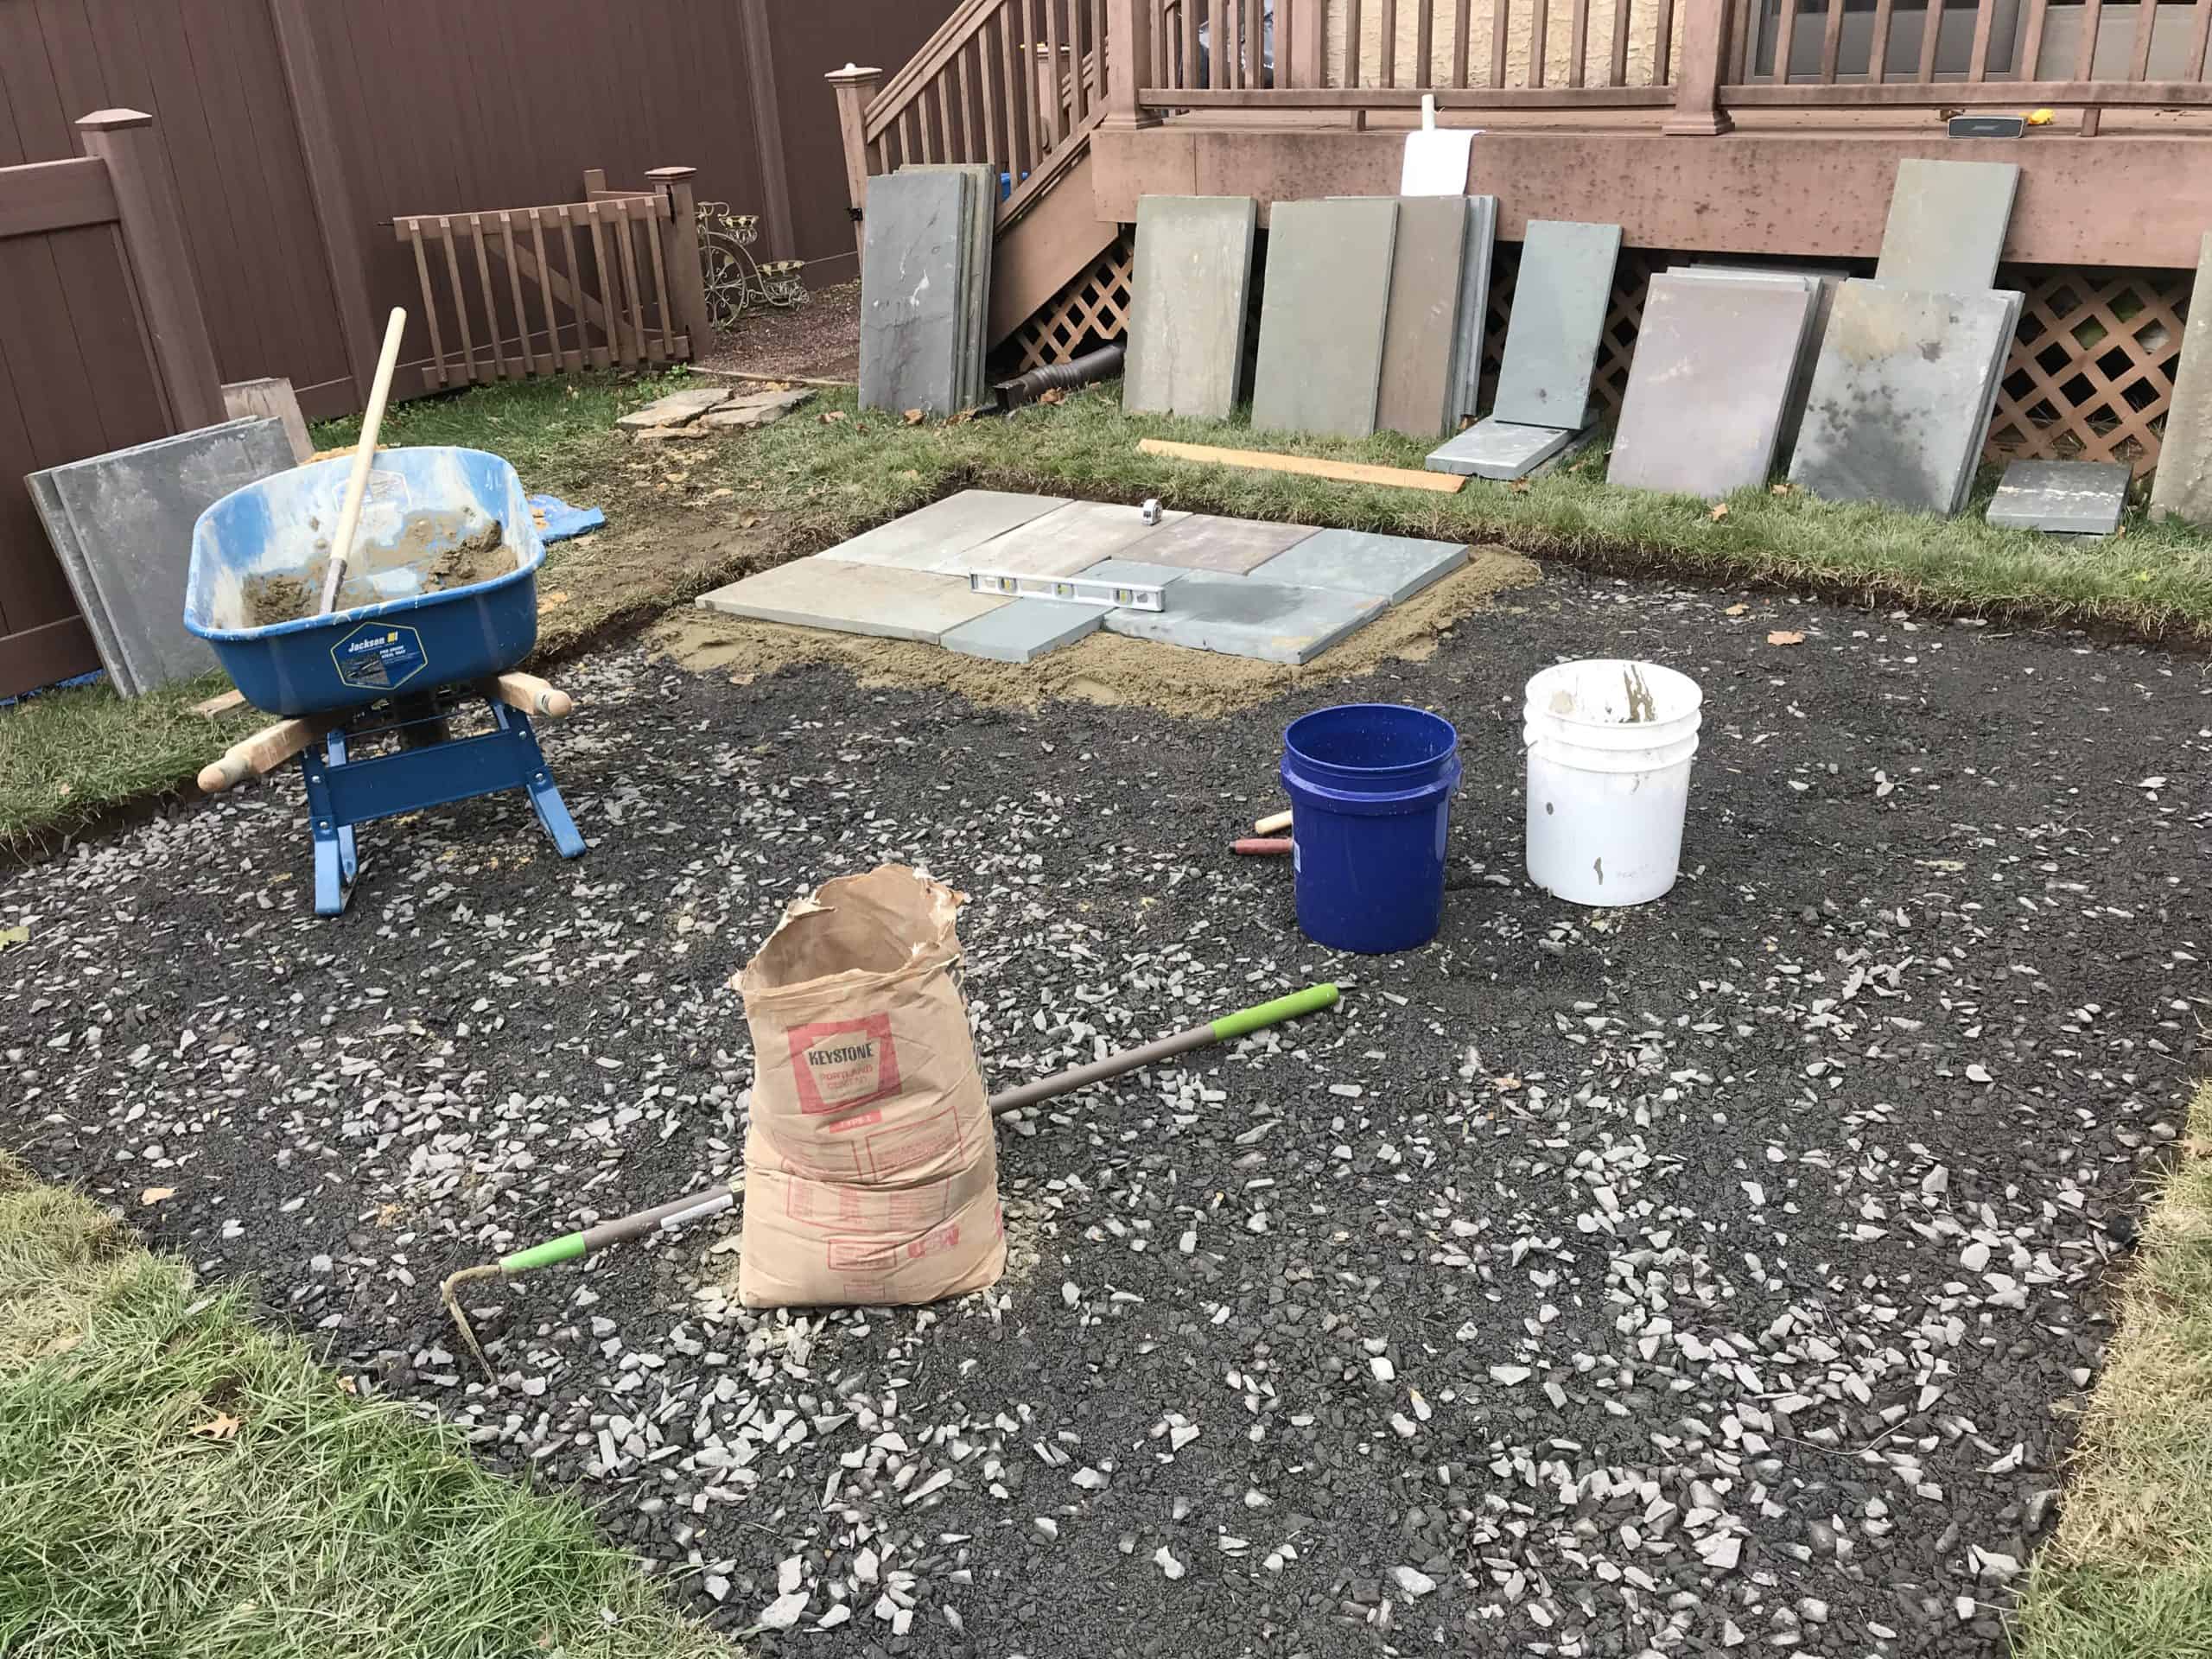
Step 3: Mixing the “Dry-Pack” Setting Bed
The setting bed consists of 4 parts concrete sand to 1 part Portland cement.
- Mix 4 shovelfuls of sand and 1 shovelful of Portland in a wheelbarrow using a garden hoe.
- Add water sparingly. You want the mix to be slightly damp—not dripping or oozing.
- Warning: Do NOT use lime or pre-mixed concrete bags. Lime can seep through the stone and create white “halos” (efflorescence) on your beautiful flagstone.
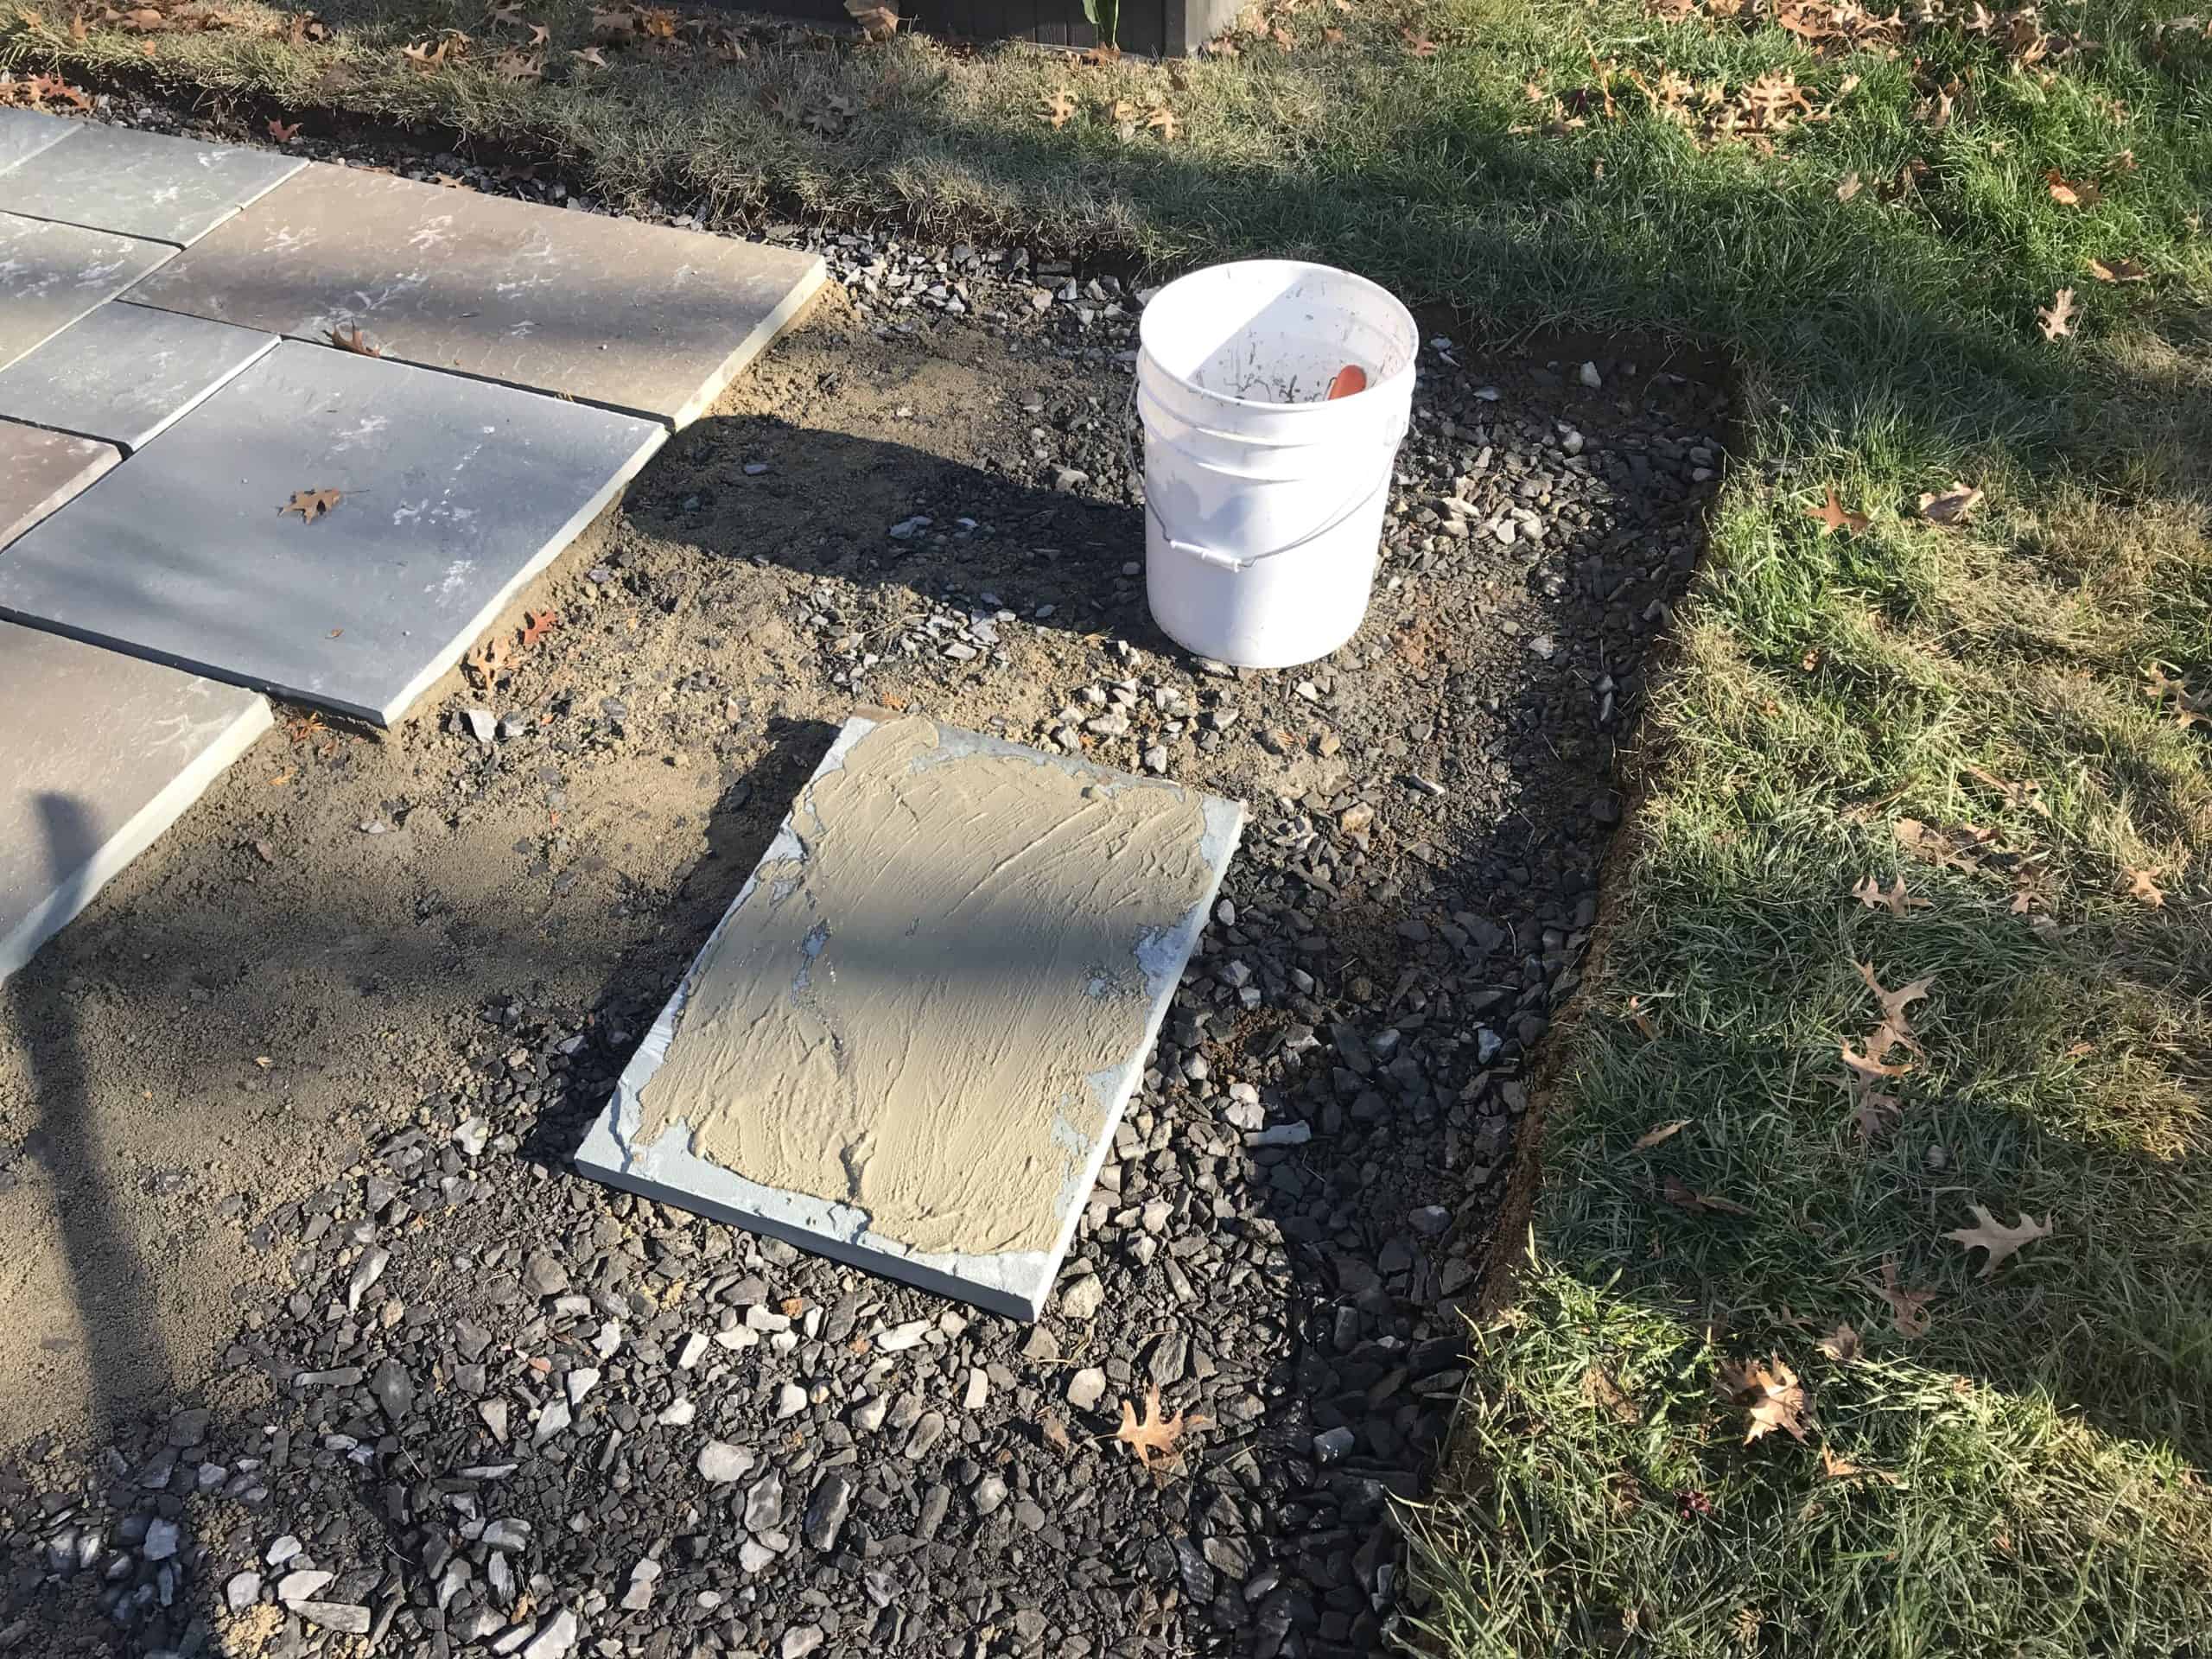
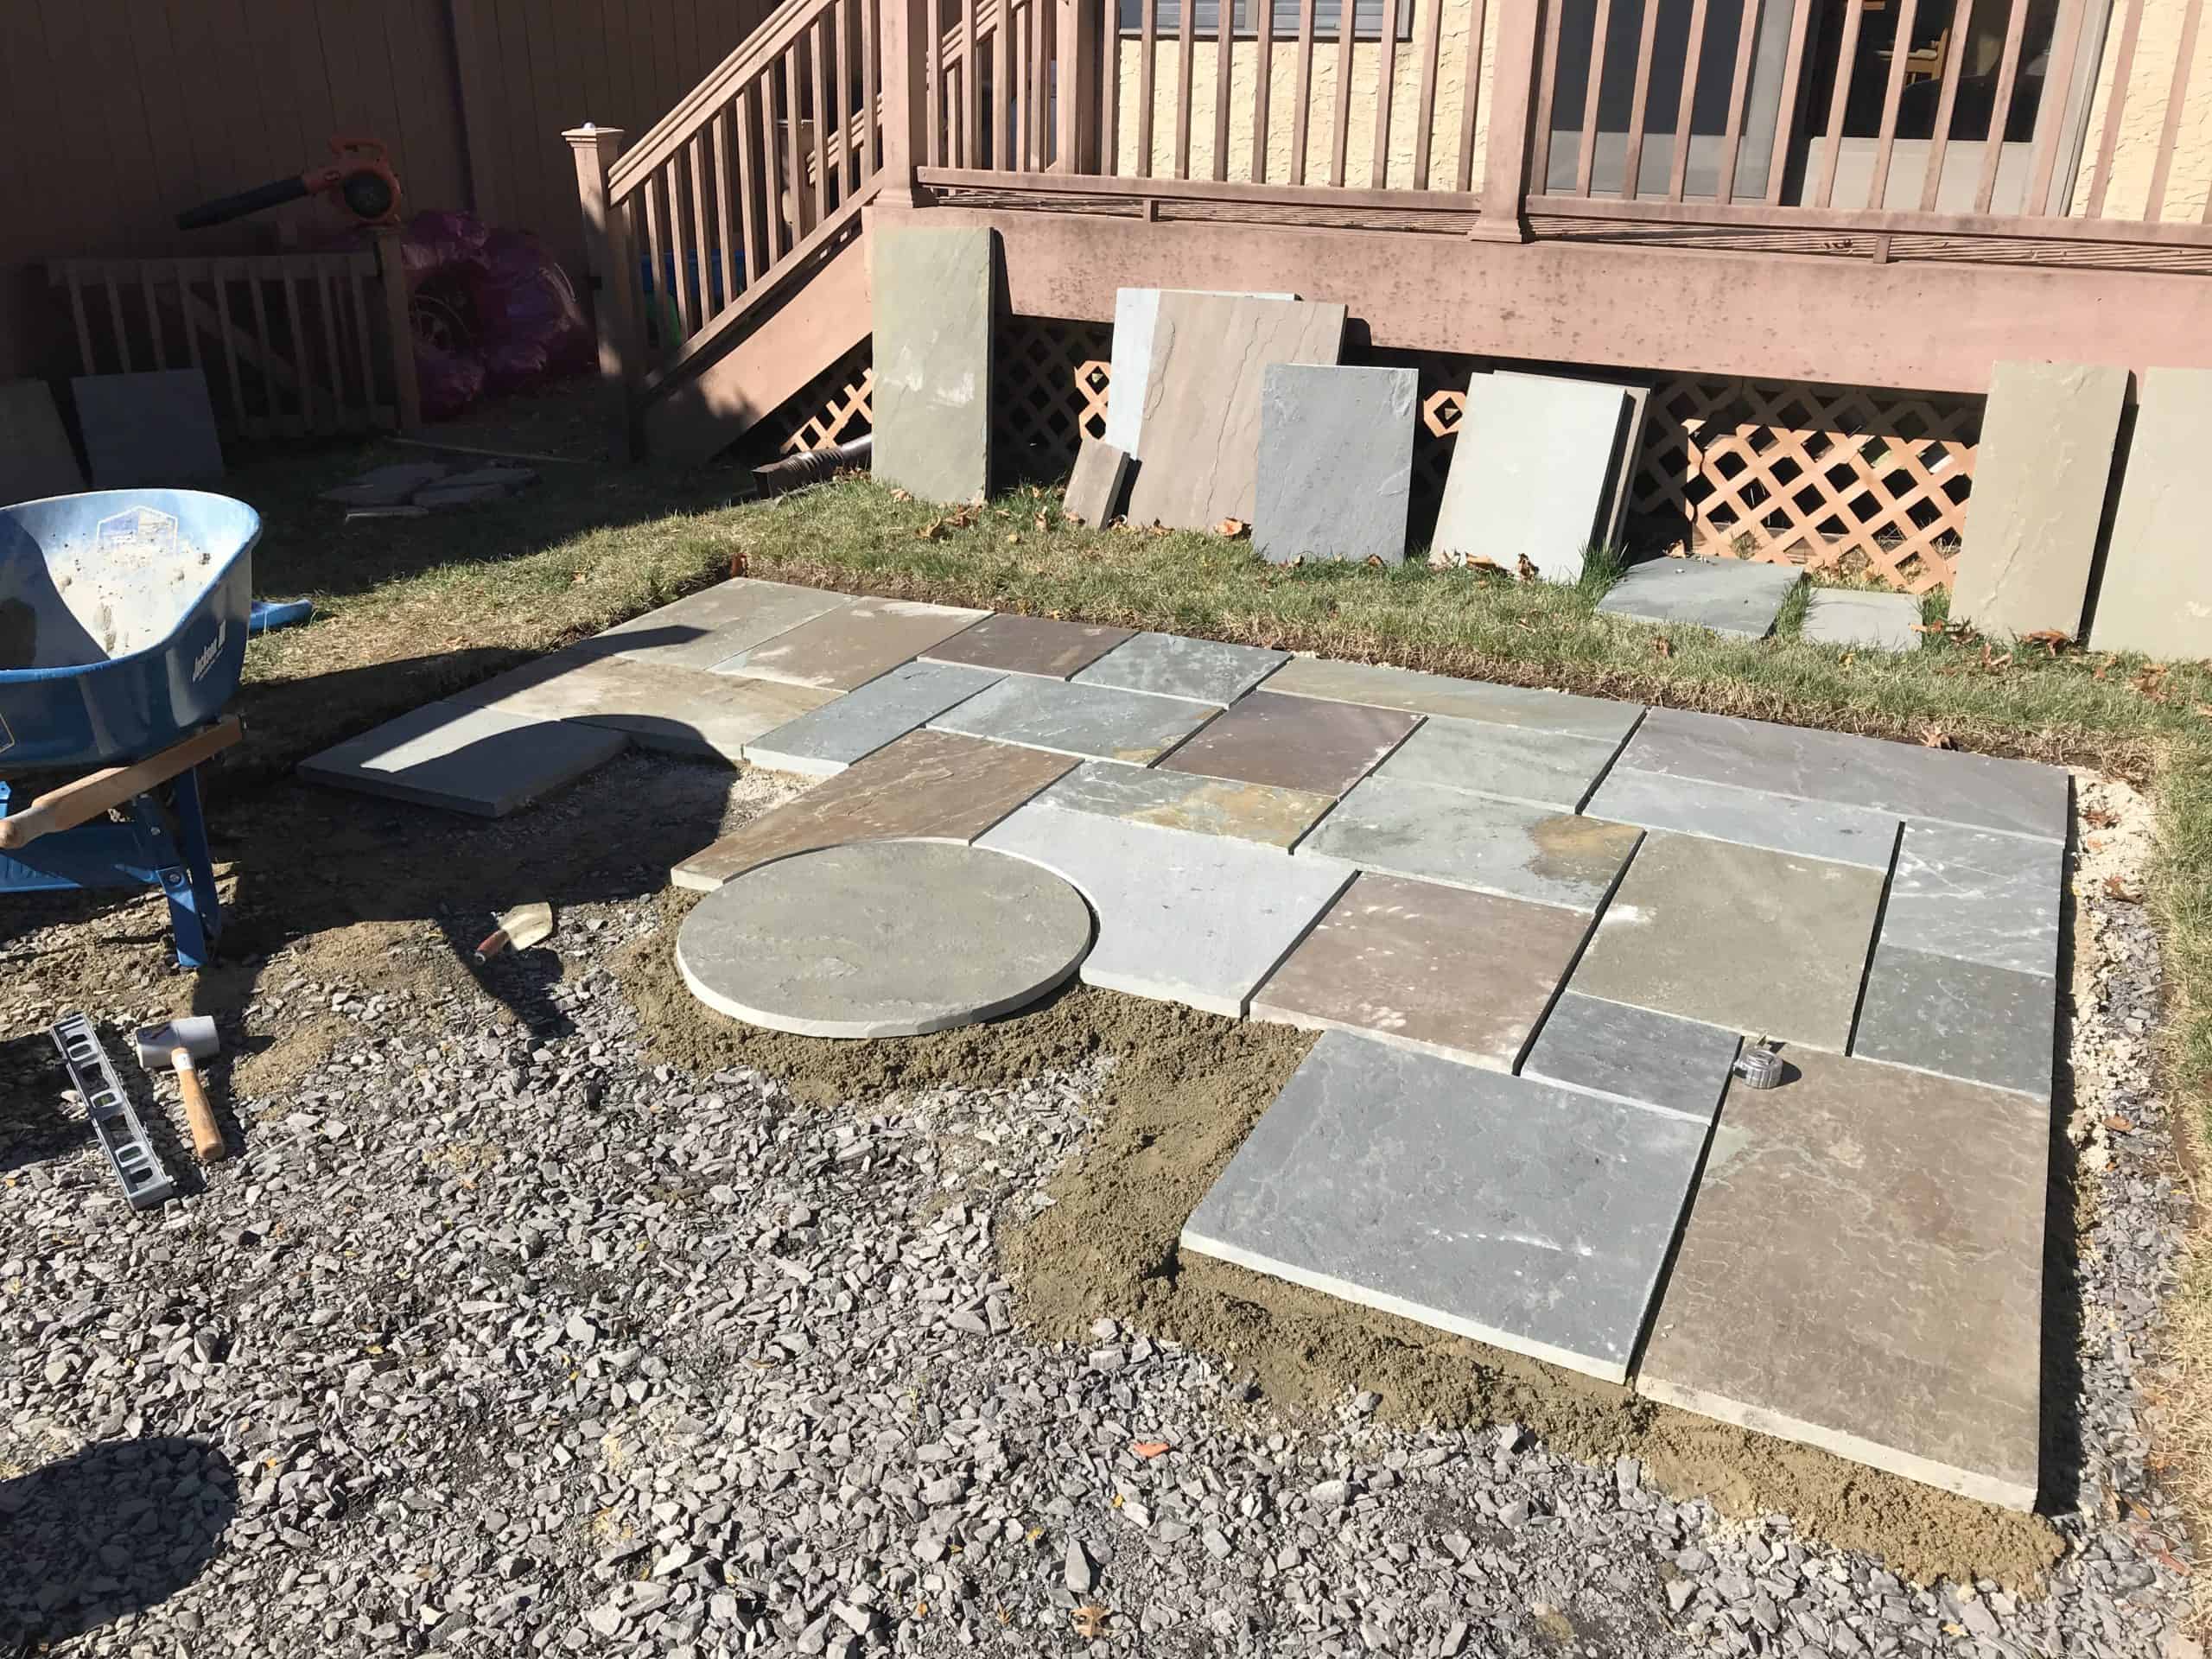
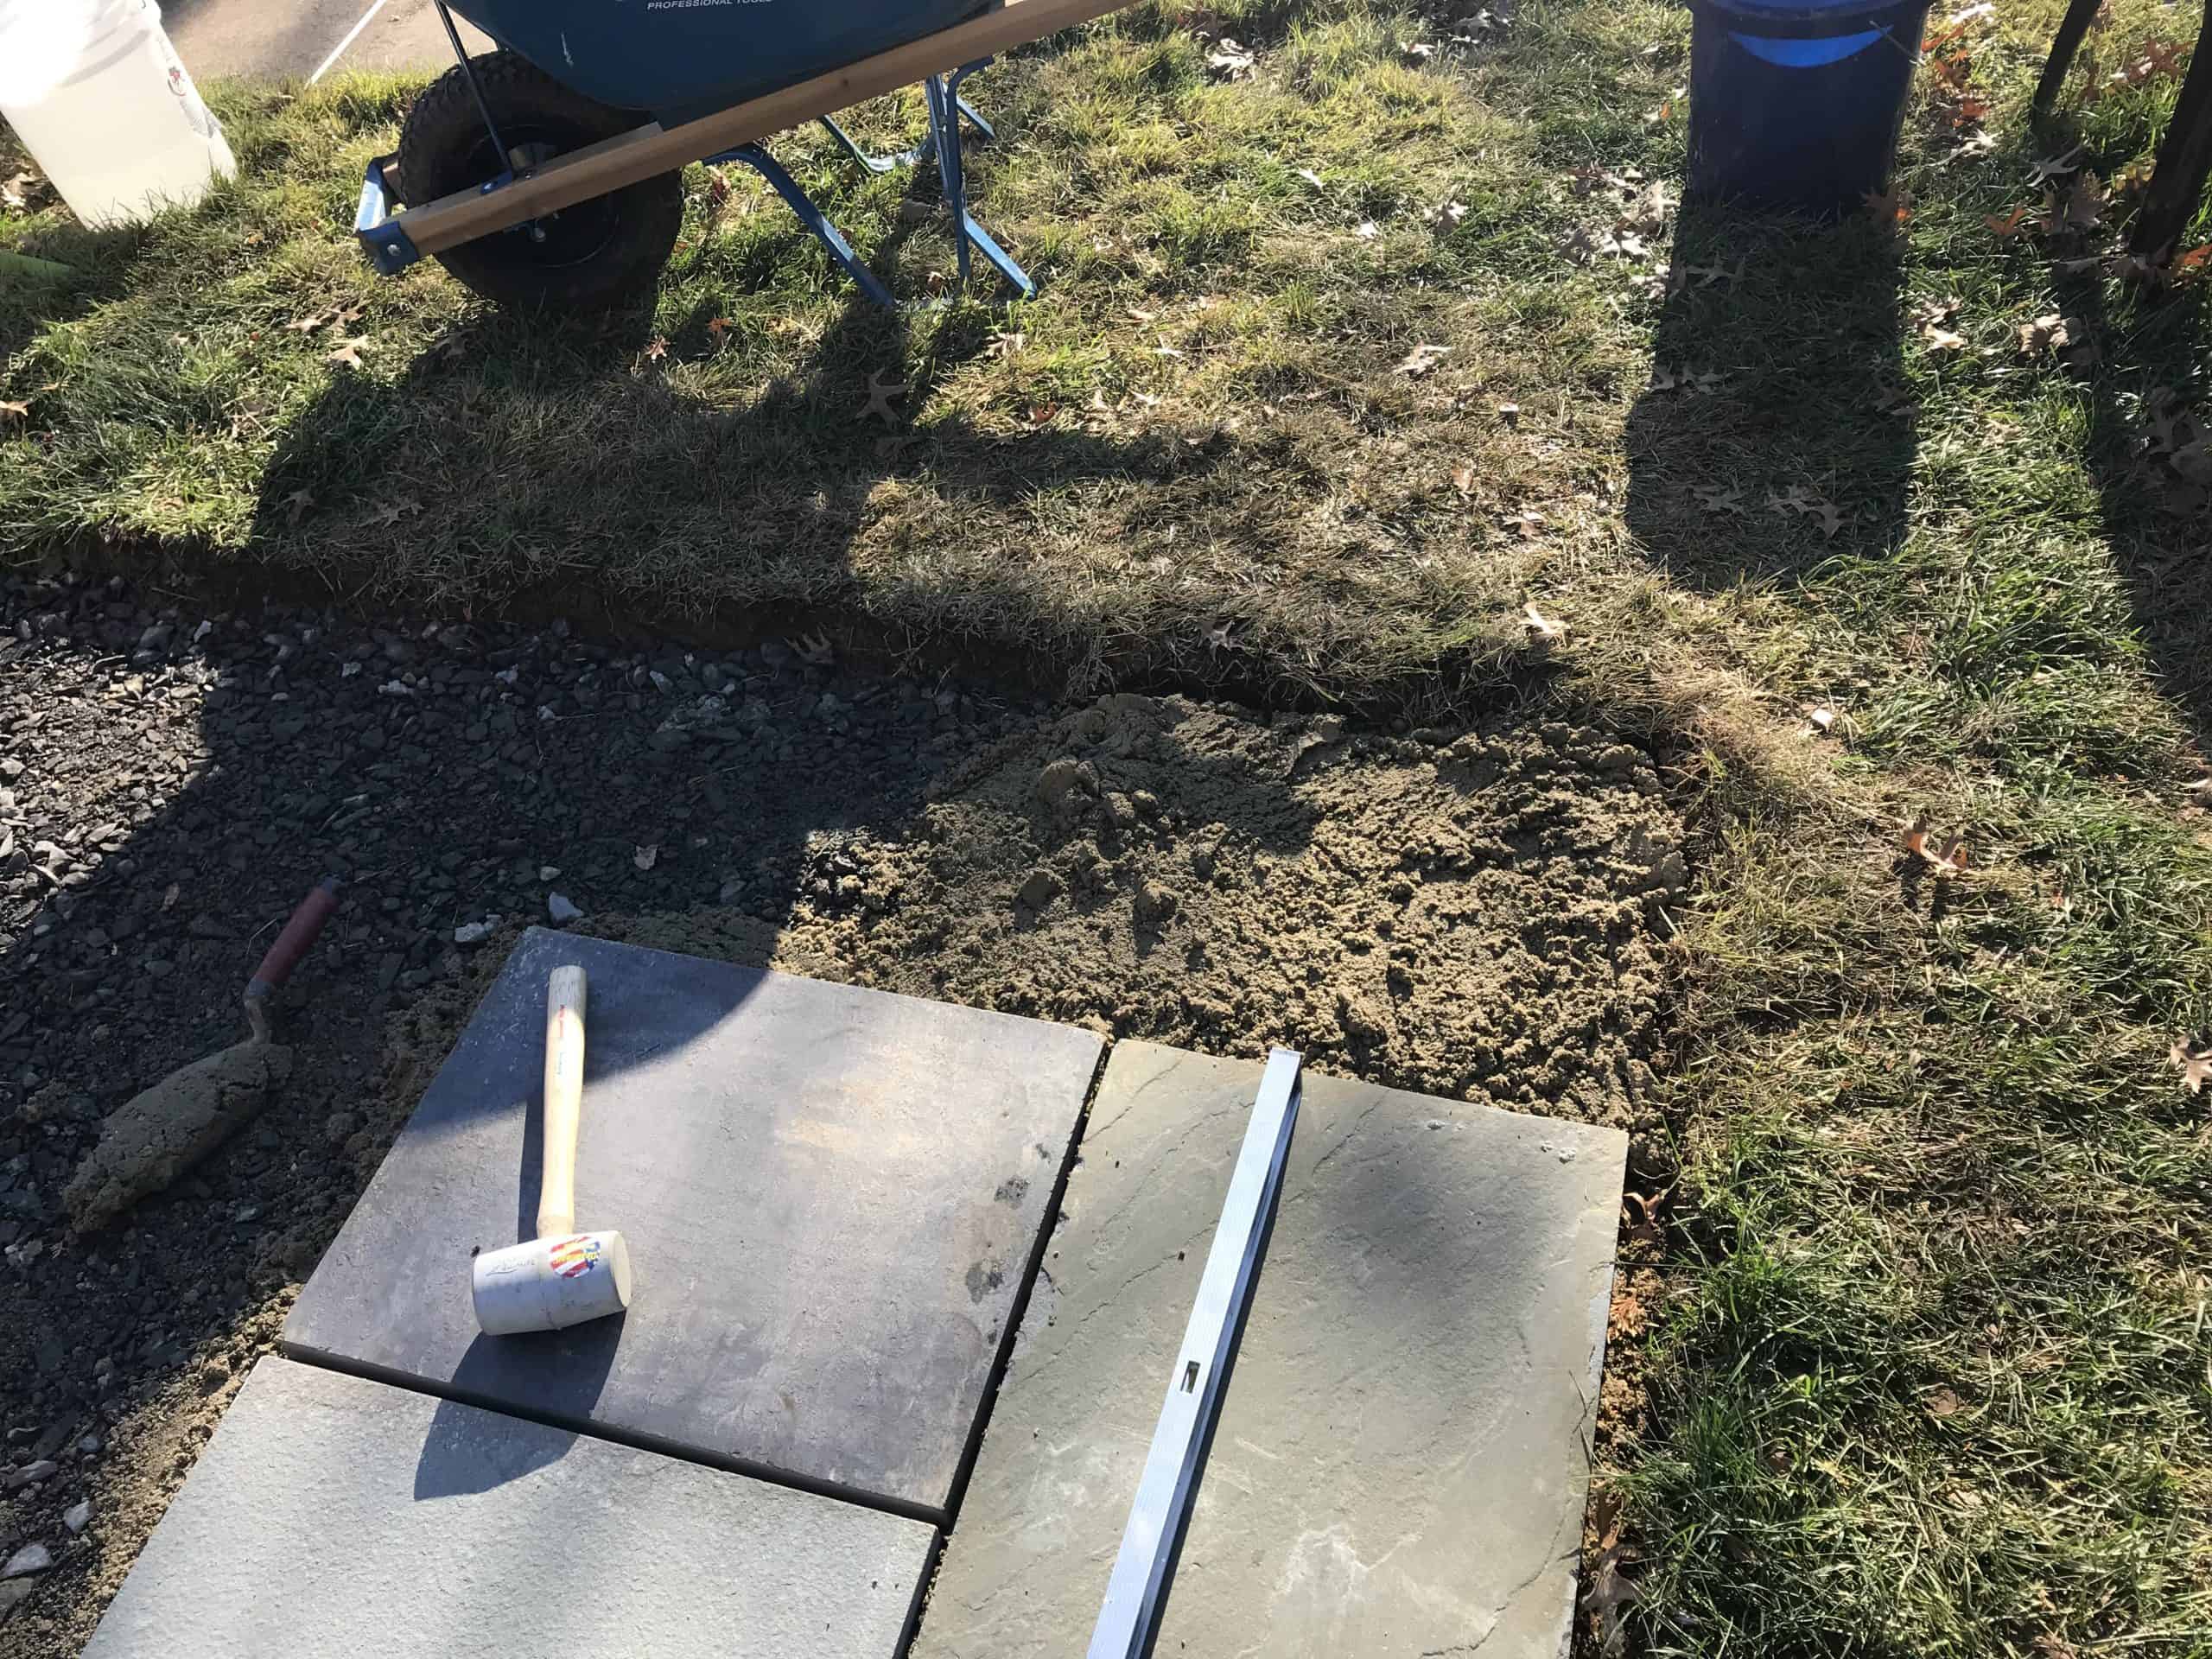
Step 4: Setting the Stone
I highly recommend using a numbered setting sketch. Knowing exactly where each stone goes saves “brain power” in the field and keeps the project moving.
- Lay the Bed: Spread a 1 ½” thick layer of your setting mix in your starting area.
- Check the Pitch: Lay your first piece of Full Color Range Natural Cleft Flagstone. Use a level to ensure the patio pitches away from the house (aim for ¼” of pitch for every 10 feet).
- The Slurry “Butter”: In a bucket, mix pure Portland cement with a little water to create a “mayonnaise” consistency. Using a trowel or old brush, coat the entire back of the stone with this slurry. This creates a permanent bond between the stone and the setting bed.
- The Beat Down: Once level and buttered, use your rubber mallet to beat the stone into place. This is great for adhesion—and a bit of stress relief!
Step 5: Refining the Joints
Natural cleft flagstone is rarely perfectly square. We aim for ½” wide joints. If a joint looks “out of whack,” use a grinder with a diamond wheel to carefully trim the top, inside portion of the stone to correct the width.
Keep a bucket of clean water and a sponge handy to wash off any stray cement or slurry from the face of the stone immediately.
Step 6: Finishing with Polymeric Sand
Once all the stone is set, it’s time for the finishing touch. I used HP NextGel Polymeric Sand in gray to match the natural tones of the Pennsylvania stone.
- Wait for a dry day. Polymeric sand must be swept into joints when the stone is completely dry.
- Sweep the sand into the joints, vibrating the stones slightly to ensure it settles.
- Follow the manufacturer’s instructions for misting with water to activate the binding agent.
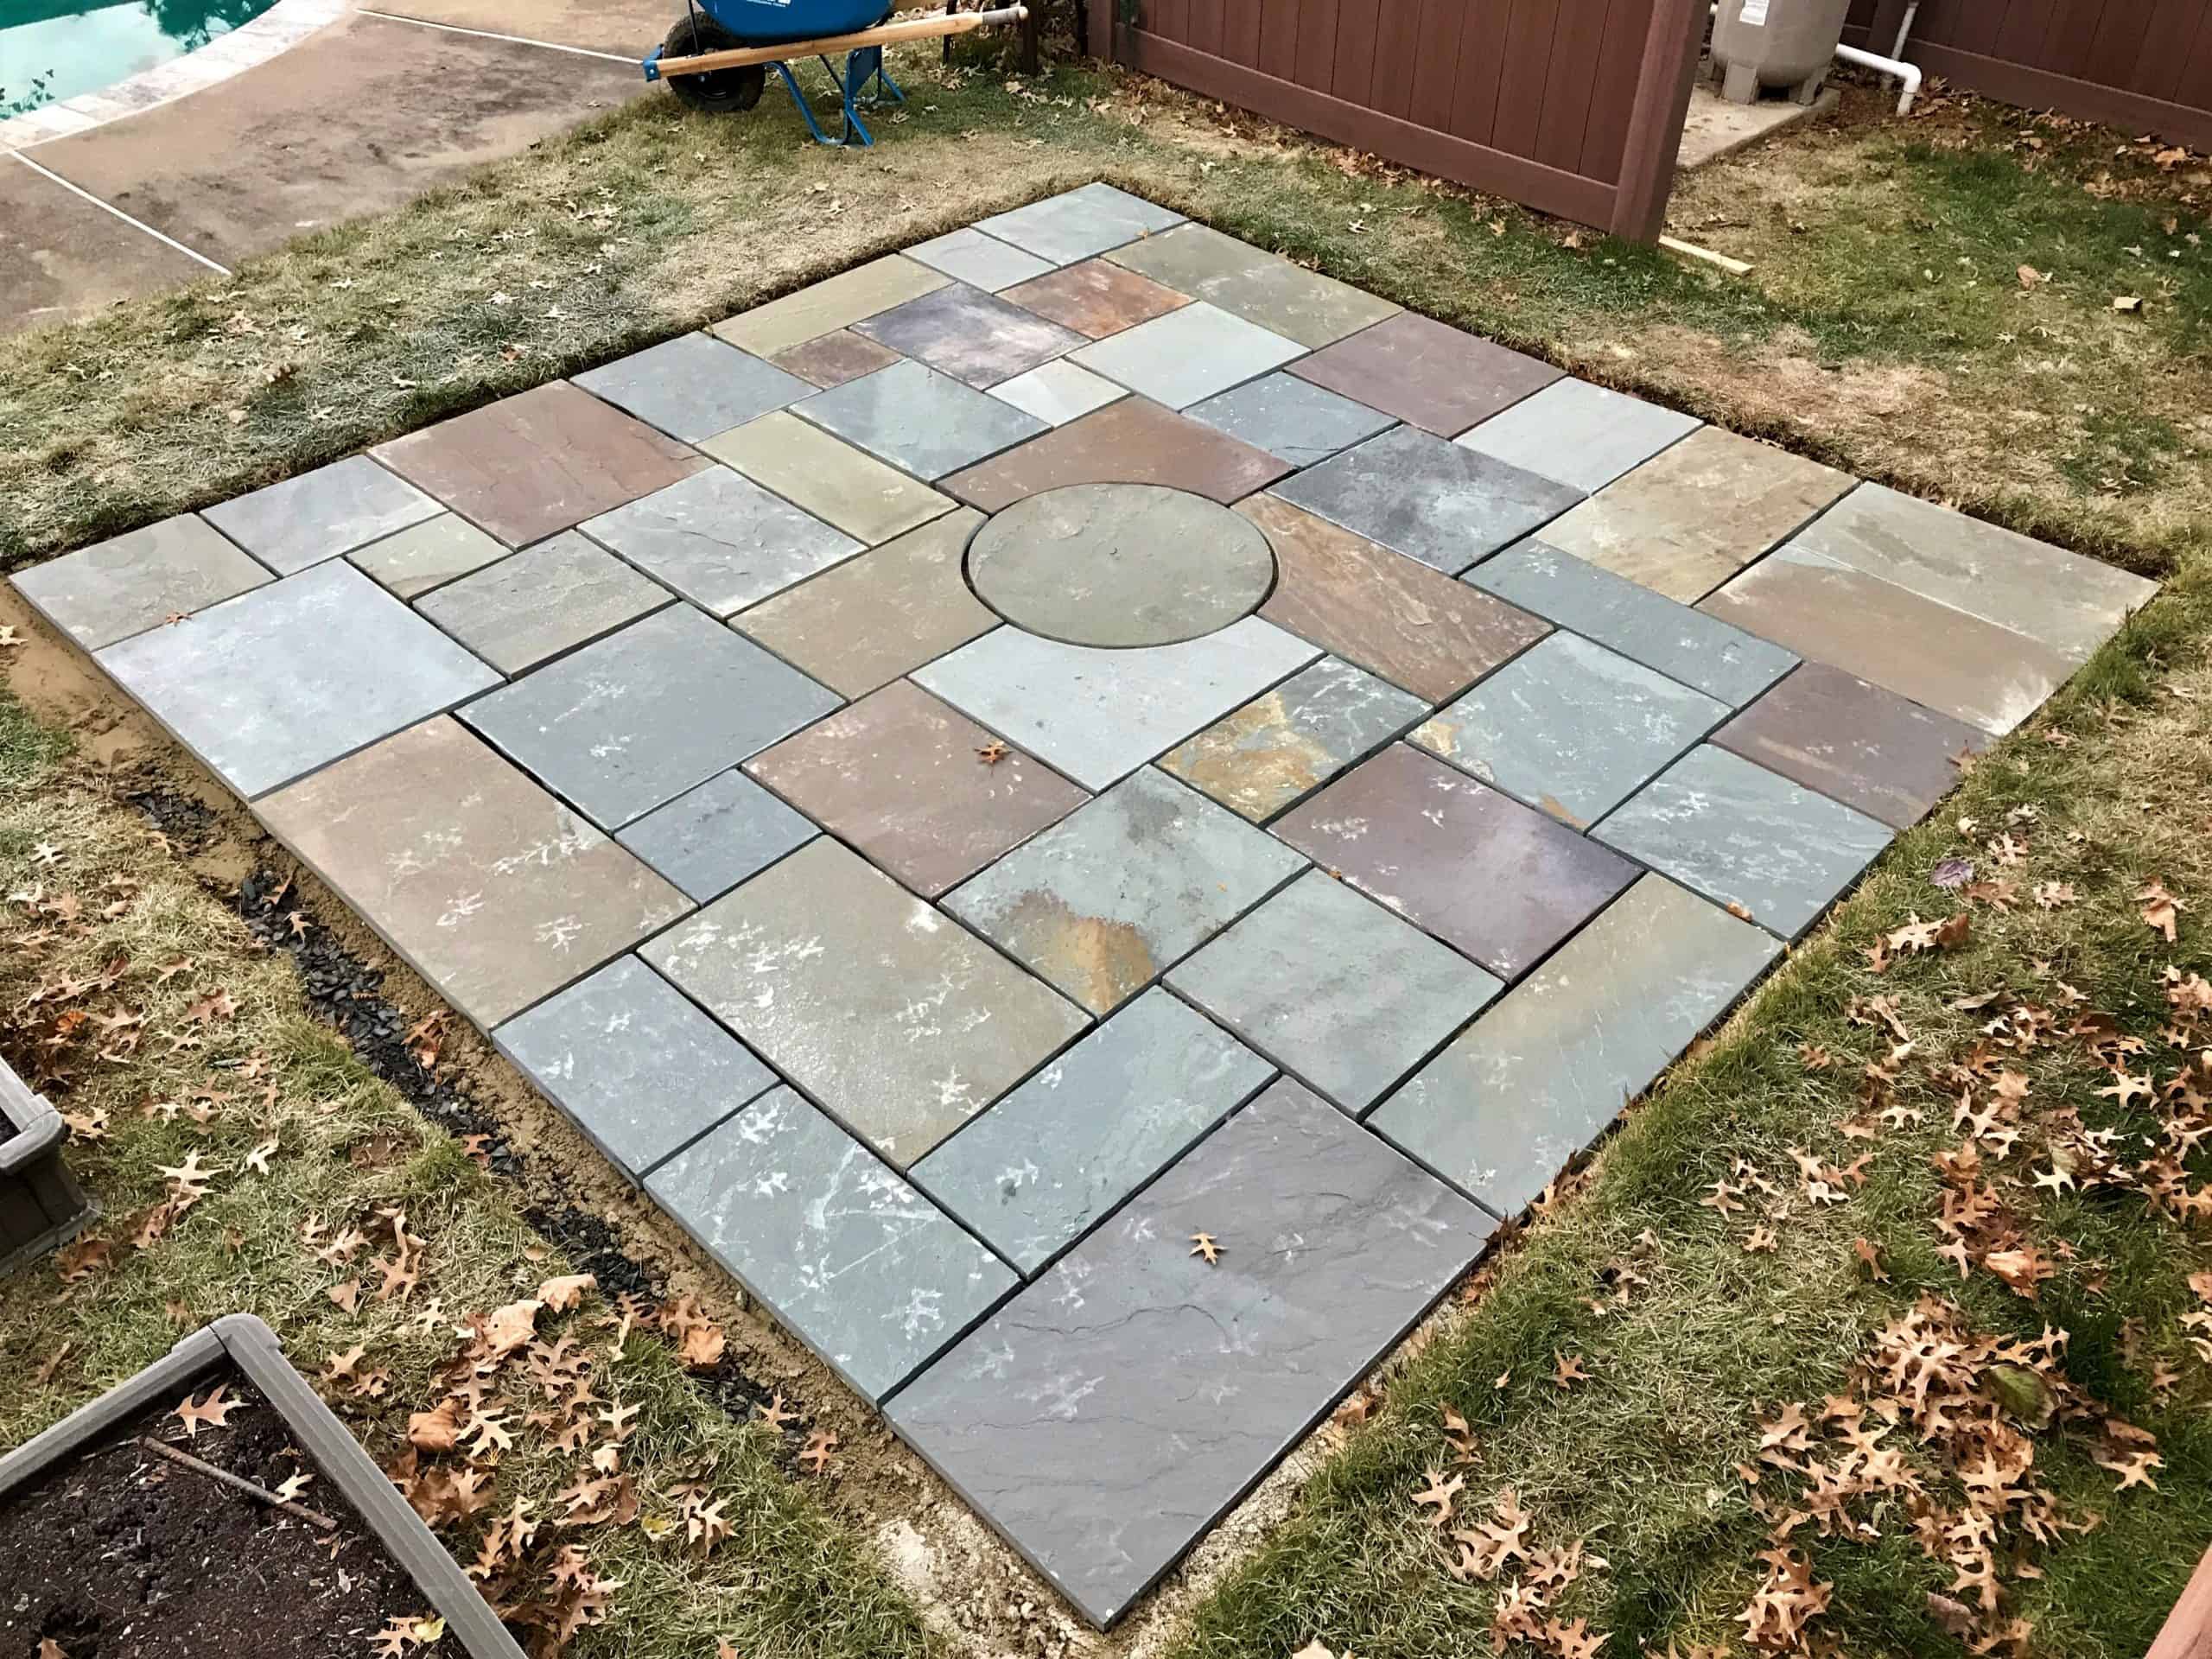
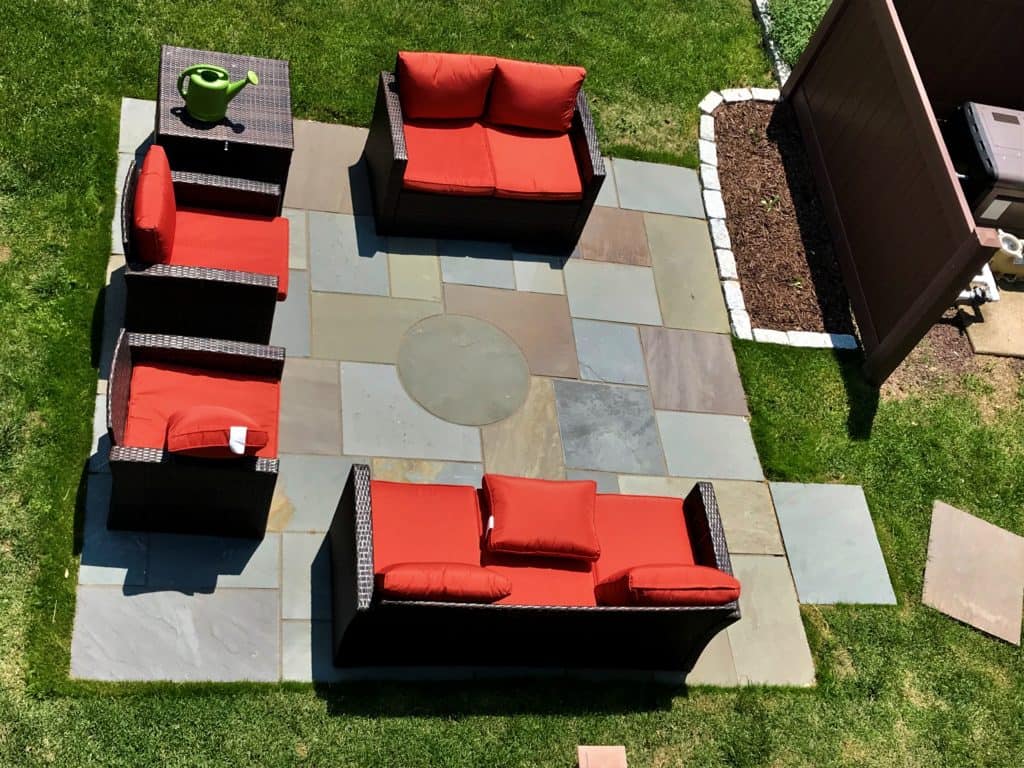
The Finished Result
To complete the look, we added a few stepping stones and a small Belgian Block lined flower bed. The contrast of the stone against the landscaping creates a professional, high-end aesthetic that will last for decades.
Ready to start your own project?
If you’re looking for premium materials or need design advice for your next masonry project, feel free to call or email us at Robinson Flagstone. We’ve been helping homeowners and contractors pick the perfect stone for over a century.